
Want to learn how to write a blog post with ChatGPT without ending up with generic content that sounds like a robot wrote it? You’re in the right place.
ChatGPT can be a useful writing partner, but creating a genuinely helpful blog article involves much more than typing a topic into a prompt and clicking Copy. You need a clear direction, an understanding of your readers, thoughtful organization, accurate information, and a publishing process that brings everything together.
At LaunchForge Studio, we use ChatGPT as part of our actual content creation workflow. From researching topics and developing outlines to writing individual sections, optimizing for search engines, and preparing articles for publication, we’ve developed a repeatable process through hands-on experience.
And in this guide, we’re pulling back the curtain to show you exactly how we do it.
You’ll learn how to plan your article, communicate effectively with ChatGPT, organize your headings, prepare SEO information, create useful images, and publish your finished content in WordPress. We’ll also walk through our approach to internal linking, Rank Math SEO, Google Search Console, and promoting published articles through social media.
You don’t need to use every tool we use or follow our process exactly. The goal is to give you a practical framework you can adapt to your own website, experience level, and resources.
Most importantly, we’ll show you why human judgment remains essential, even when AI handles part of the heavy lifting.
Because the goal isn’t simply to publish more content.
It’s to create content worth reading.
Plan Your Blog Post Before Opening ChatGPT
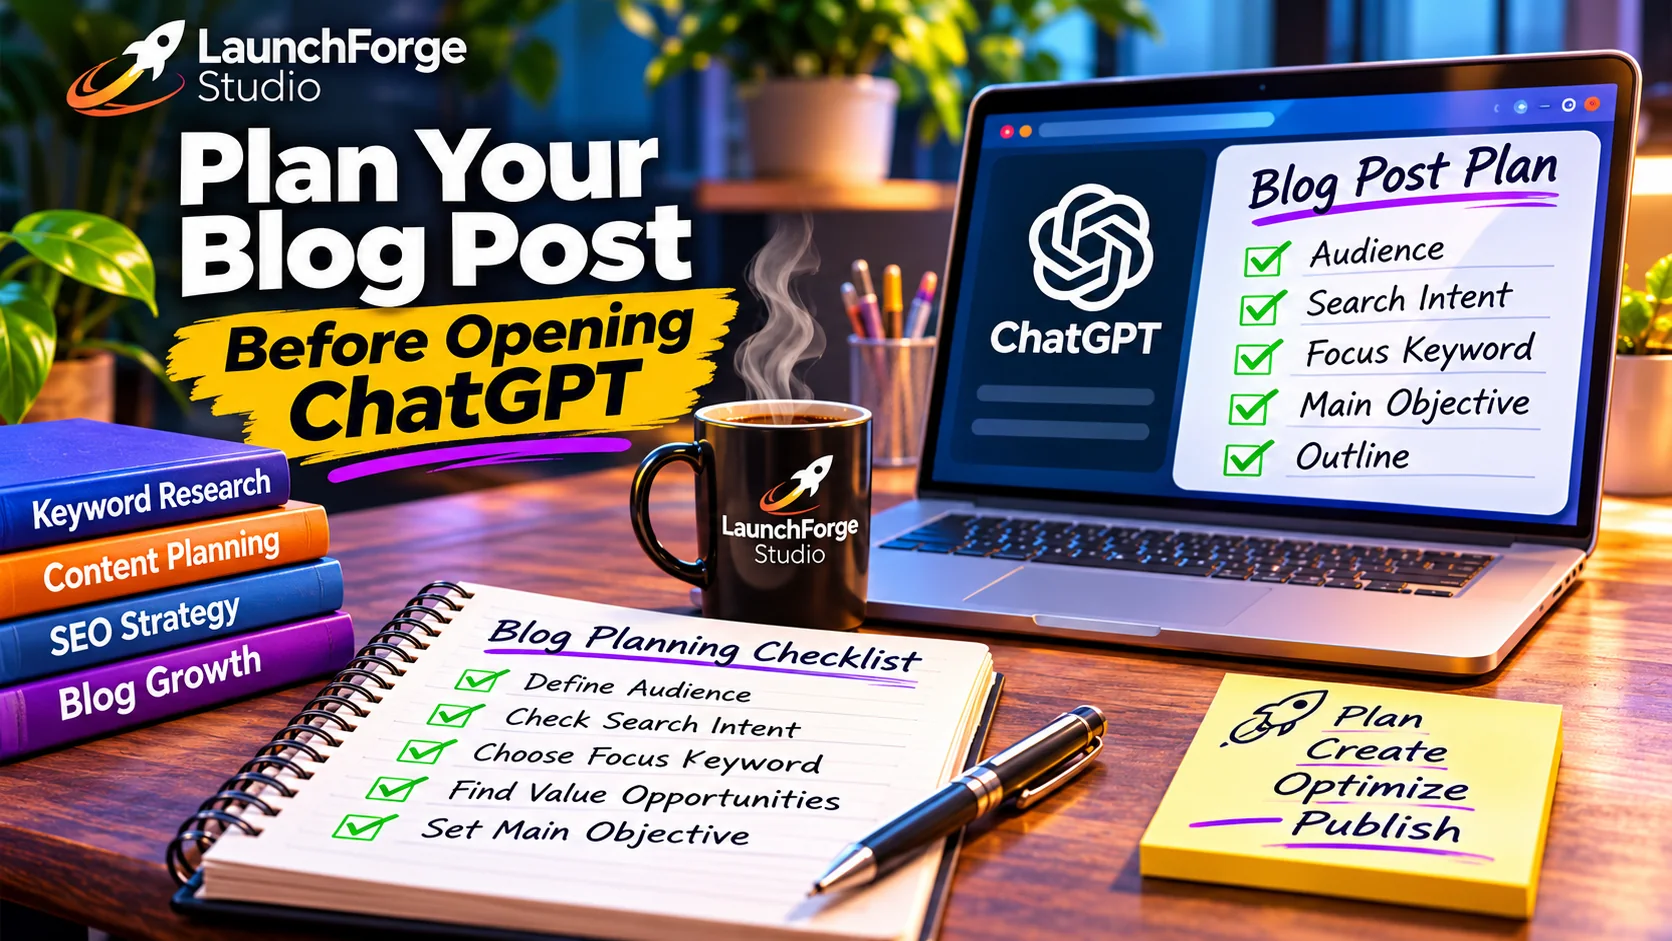
A useful blog post starts with a clear plan, the right audience, and a focused content strategy.
One of the biggest mistakes beginners make when using ChatGPT to write blog posts is jumping straight into the writing process without knowing exactly what they want to accomplish.
It’s tempting to open ChatGPT, type something like “Write me a blog post about online marketing,” and see what happens. You’ll probably get an article, but that doesn’t mean it will answer the questions your readers are asking or provide information they can actually use.
At LaunchForge Studio, we begin with a plan before asking ChatGPT to write anything.
Identify Who You’re Writing For
Before choosing your topic, think about the person who will eventually read your article.
Are you helping someone start their first online business? Explaining a marketing strategy to an affiliate marketer? Or showing a small business owner how to improve their website?
Knowing your audience helps determine the examples, terminology, explanations, and level of detail your article should include.
For example, a beginner researching email marketing may need an explanation of what an autoresponder does. An experienced marketer may be more interested in improving email segmentation or conversion rates.
Both readers are interested in email marketing, but they need different information.
Understand Search Intent
Search intent is the reason someone enters a particular phrase into a search engine.
Someone searching “what is a landing page” probably wants an explanation. Someone searching “best landing page builder for beginners” may be comparing tools before making a purchasing decision.
Those searches require different approaches.
Before writing, consider what a reader expects to find when searching for your chosen topic. Review relevant search results, identify common questions, and look for opportunities to provide clearer explanations or more useful examples.
The goal isn’t to copy competing articles. It’s to understand what readers need and determine how your content can serve them better.
Choose a Primary Focus Keyword
Once you understand the topic and search intent, select a primary keyword that accurately describes your article.
For this guide, our focus keyword is “how to write a blog post with ChatGPT.”
It describes exactly what we’re teaching and naturally fits the article’s purpose.
You can use tools such as Google Search Console, Google Search, and keyword research platforms to investigate related searches and identify questions worth answering.
However, don’t choose a keyword simply because it appears popular. Make sure it matches the information you can genuinely provide.
Look for Opportunities to Add Real Value
Before committing to an article, ask yourself what will make it useful.
Could you include a practical example? Explain a confusing process more clearly? Share firsthand experience? Provide a checklist readers can follow?
At LaunchForge Studio, our advantage is that we’re actively building and improving the business we write about.
For example, rather than creating another generic article about AI writing, we’re using this guide to demonstrate the actual process we follow when producing our own blog content.
That gives readers something more valuable than theoretical advice: a workflow they can adapt and put into practice.
Establish the Article’s Main Objective
Finally, decide what readers should be able to accomplish after finishing your article.
For this guide, our objective is straightforward: help someone use ChatGPT to plan, write, optimize, publish, and promote a useful blog post while maintaining control over the finished content.
With that objective established, we’re ready to give ChatGPT meaningful instructions and begin building our article.
Set Up ChatGPT to Help You Write
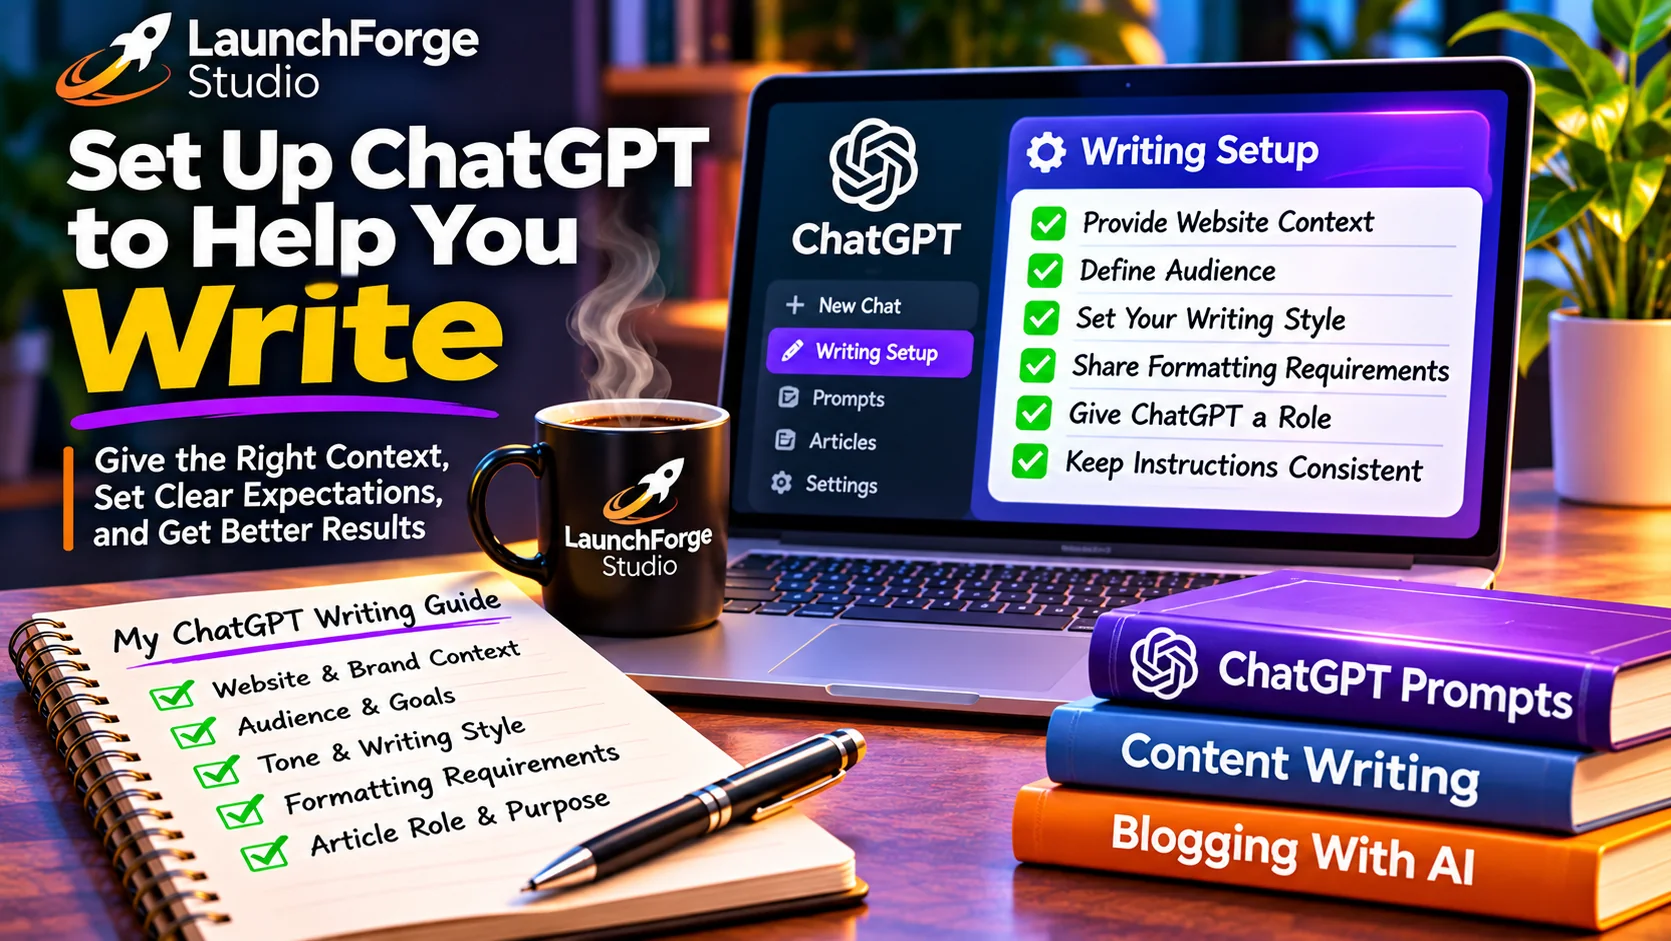
Better ChatGPT writing begins with clear context, specific instructions, and consistent editorial expectations.
Now that you’ve chosen your topic, identified your audience, and established your article’s purpose, it’s time to bring ChatGPT into the process.
But before asking it to write anything, there’s something important to understand: the quality of your instructions can significantly influence the usefulness of the response.
ChatGPT doesn’t automatically know your business, your readers, your writing preferences, or what you’re trying to accomplish. You need to provide that information.
At LaunchForge Studio, we’ve developed our writing process through ongoing collaboration with ChatGPT. Rather than treating it like a machine that produces finished articles on command, we use it as a writing assistant that helps us organize ideas, develop content, and refine our work.
Here’s how you can establish a similar working relationship.
Give ChatGPT Context About Your Website
Start by explaining what your website does and who it serves.
You don’t need to write an enormous introduction. A few specific details can make a meaningful difference.
For example, you might use this prompt:
Example Prompt:
“I’m creating educational blog articles for a website that helps beginners learn how to start and grow an online business. My audience includes new entrepreneurs, affiliate marketers, and people working with limited budgets.
I want my content to be practical, easy to understand, accurate, and genuinely helpful. Use a friendly, professional writing style. Avoid exaggerated promises, unnecessary technical language, and aggressive sales pitches.”
This gives ChatGPT a foundation for understanding your content.
You can adjust the example to reflect your own business, industry, and audience.
Establish Your Writing Style and Expectations
Next, explain how you want your articles to sound.
Some websites use a formal, technical tone. Others benefit from a conversational approach.
At LaunchForge Studio, we favor clear explanations, practical examples, short paragraphs, and occasional lighthearted humor when appropriate.
We also believe that helping readers should come before promoting products.
You might tell ChatGPT:
Example Prompt:
“Write in a conversational but professional voice. Explain unfamiliar concepts in plain English, use practical examples, and avoid repeating the same ideas unnecessarily.
Prioritize reader understanding over keyword repetition. Do not invent statistics, customer experiences, research findings, or claims about products. Flag information that needs verification.”
That final instruction is particularly important.
AI-generated content still requires human fact-checking. A confident-sounding explanation isn’t necessarily an accurate one.
Explain Your Article Formatting Requirements
If you’re publishing in WordPress, establishing your formatting expectations early can save considerable editing time.
For example, our LaunchForge Studio articles use a clear heading hierarchy:
- H1 for the article’s main title.
- H2 for major article sections.
- H3 for subsections within those major sections.
- Short paragraphs and lists where they improve readability.
Our WordPress setup already handles the article’s Table of Contents, so we don’t ask ChatGPT to build another one inside the article.
We also write one section at a time rather than generating an entire lengthy article in a single response.
Example Prompt:
“Help me create a WordPress blog article using properly structured H2 and H3 headings. Begin with an outline, then write the introduction and each major section separately.
Keep paragraphs readable, avoid unnecessary tables, and maintain a consistent writing style throughout.
Wait for my review before moving to the next section.”
You can adapt these instructions to whichever publishing platform you use.
Give ChatGPT a Defined Role
Another useful technique is to describe the responsibilities you want ChatGPT to fulfill.
For example:
Example Prompt:
“Act as my blog content planning and editorial assistant. Help me research topics, organize outlines, draft sections, identify unclear explanations, and improve readability.
Recommend SEO improvements without sacrificing the quality of the writing. Ask for missing information when necessary, and clearly distinguish verified facts from suggestions or assumptions.”
Giving ChatGPT a role doesn’t make it an independent expert or guarantee accurate results. It simply helps establish the kind of assistance you’re requesting.
You remain responsible for evaluating the recommendations and approving the finished content.
Keep Your Instructions Consistent
One lesson we’ve learned while developing LaunchForge Studio is that consistency makes a significant difference.
When we establish our audience, writing style, heading structure, word-count expectations, and editorial procedures before drafting, we spend less time correcting avoidable problems.
You can keep a reusable copy of your instructions and provide them when starting a new writing project.
And if ChatGPT starts drifting away from your requirements, correct the direction before continuing.
Think of it as working with an editorial assistant. Clear expectations, useful feedback, and consistent procedures help make the collaboration more productive.
With ChatGPT properly instructed, our next step is preparing the SEO information that will guide the article’s structure and search visibility.
Prepare Your Blog Post SEO Information
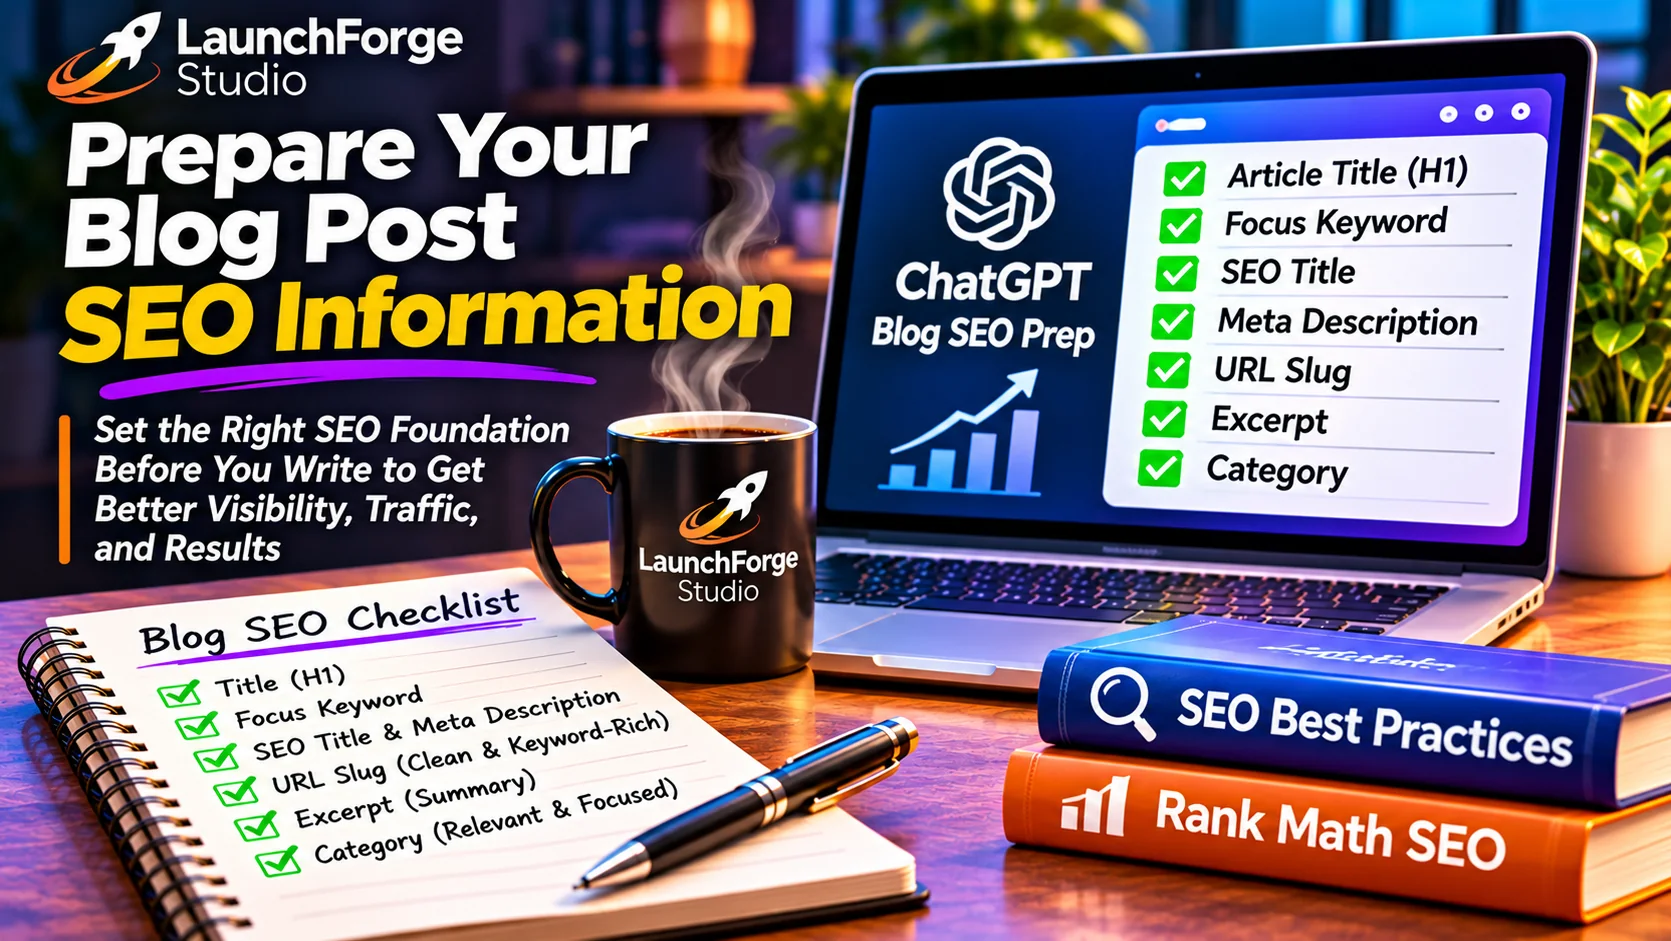
Prepare your article title, focus keyword, SEO description, URL, and excerpt before beginning the writing process.
Before we begin writing the full article, we prepare the basic SEO information that helps define its topic and how it may appear in search results.
SEO stands for search engine optimization. It’s the process of making your website and its content easier for search engines to understand while helping readers find information relevant to their searches.
At LaunchForge Studio, we use Rank Math SEO with WordPress to manage important article settings. However, you don’t need Rank Math specifically to follow this process. Many publishing platforms provide similar options.
The key is to establish your article’s direction before writing hundreds or thousands of words.
Choose Your Article Title (H1)
Your H1 is the main heading that tells readers what the article is about.
It should clearly describe the subject, match the reader’s expectations, and naturally include your primary keyword when appropriate.
For this article, our H1 is:
How to Write a Blog Post With ChatGPT: A Complete Step-by-Step Guide
It communicates both the subject and the practical nature of the tutorial.
Select Your Focus Keyword
A focus keyword is the main search phrase you want your article to address.
Our focus keyword for this guide is:
how to write a blog post with ChatGPT
We use that phrase naturally in relevant locations, including the title and introduction.
Remember that your focus keyword isn’t a command telling Google where to rank your content. It’s primarily a planning and optimization reference.
Avoid repeating it unnaturally just to satisfy an SEO plugin.
Write Your SEO Title and Meta Description
Your SEO title is the title you provide for search engines to use in search results. It can differ slightly from your article’s H1.
Our SEO title is:
How to Write a Blog Post With ChatGPT (Step-by-Step)
Next comes the meta description, which summarizes the article for potential visitors.
For this guide, we use:
“Learn how to write a blog post with ChatGPT using our step-by-step process for planning, SEO, editing, WordPress publishing, and promotion.”
A useful meta description clearly explains what readers can expect and gives them a reason to visit.
Google may choose different text from your page when generating search snippets, so treat your description as a helpful suggestion rather than a guaranteed display.
Create a Clean URL Slug
Your URL slug is the readable portion of the article’s web address.
For this guide, ours is:
how-to-write-a-blog-post-with-chatgpt
A descriptive slug makes the URL easier to recognize and understand.
Keep it reasonably short, relevant to the topic, and free from unnecessary words.
Prepare Your Article Excerpt and Category
An excerpt is a short summary that may appear on your blog’s article listings, depending on your website settings.
At LaunchForge Studio, we write excerpts that explain the article’s value without repeating the entire introduction.
We also assign each article to the appropriate content category.
For example, this tutorial belongs in our Guides & Tutorials collection because it teaches a practical process readers can follow.
Use SEO Tools Without Letting Them Control Your Writing
SEO plugins can identify missing settings, readability concerns, and opportunities for improvement.
But a high plugin score doesn’t guarantee strong Google rankings.
Our approach is to prepare the essential SEO information early, write helpful content for real people, and return for a final optimization review once the article is complete.
With those foundations established, we’re ready to organize the article into a clear outline before drafting the remaining sections.
Create a Complete Blog Post Outline
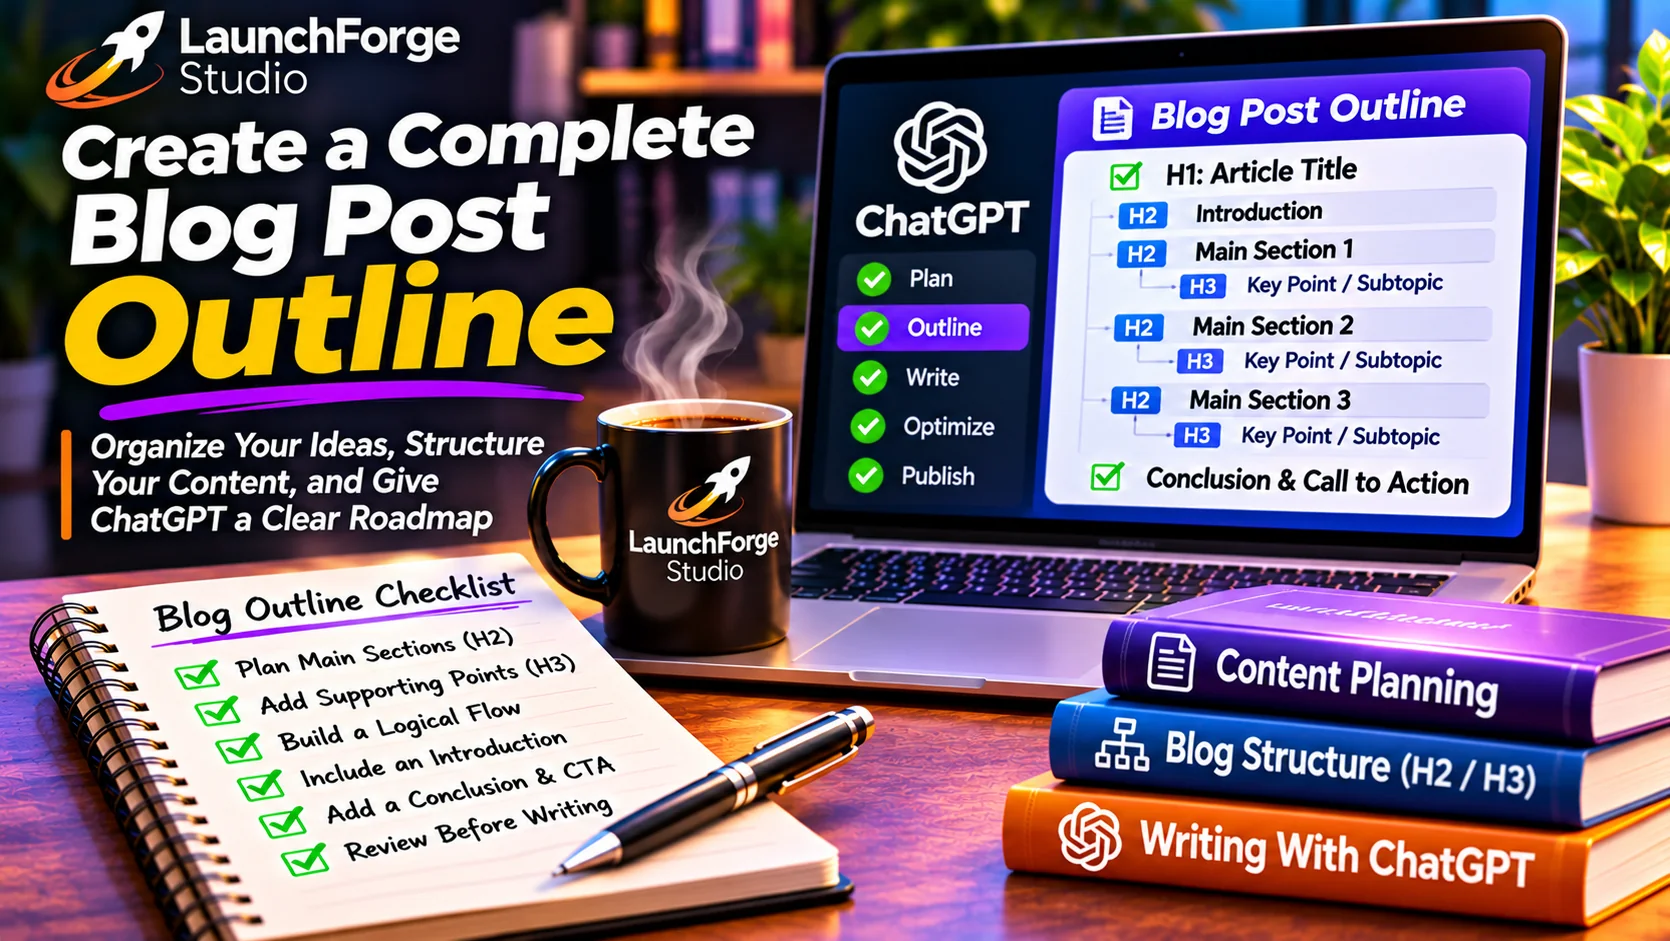
Organize your article with a logical H2 and H3 structure before asking ChatGPT to begin writing.
With your topic, audience, and SEO information established, it’s time to organize your article before writing the full content.
An outline provides a roadmap for everything you want to cover. It helps prevent repetition, keeps related information together, and makes it easier to identify missing steps before you’ve written thousands of words.
At LaunchForge Studio, we’ve learned that planning the complete structure upfront saves considerable time compared with moving sections around halfway through an article.
Organize Your Main Sections With H2 Headings
Start by identifying the major subjects your article needs to cover.
Each H2 should represent a meaningful step, question, or topic that contributes to the article’s overall purpose.
For example, an article explaining how to create a landing page might include these major sections:
- What Is a Landing Page?
- Choose the Goal of Your Landing Page
- Write a Clear Headline and Message
- Design Your Landing Page
- Add a Call to Action
- Test and Improve Your Results
Notice how the sections follow a logical progression.
Readers first understand the concept, then learn how to put it into practice.
Use H3 Headings to Explain Individual Steps
Once you’ve identified your main sections, determine which ones need smaller subsections.
For example, beneath an H2 titled “Design Your Landing Page,” you might include:
- Choose a Simple Layout
- Make Your Page Mobile-Friendly
- Use Relevant Images
- Keep Your Call to Action Visible
These become H3 headings within the larger section.
Not every H2 needs multiple H3 headings. Use them when they make the information easier to follow, not simply to create more headings.
Plan Your Introduction, Conclusion, and Call to Action
Your introduction should establish the reader’s problem, explain what they’ll learn, and give them a reason to continue.
Your conclusion should reinforce the most important lessons and help readers understand their next step.
You’ll also want to consider your article’s call to action, or CTA.
Depending on the topic, that might mean encouraging readers to explore a related tutorial, subscribe for updates, download a useful resource, or investigate a tool that supports what they’ve learned.
At LaunchForge Studio, we establish the CTA’s purpose before drafting so it feels like a natural continuation of the article rather than an unrelated advertisement.
Include Frequently Asked Questions When Useful
An FAQ section can help answer practical questions that don’t fit neatly into the main instructions.
However, don’t add questions simply to make the article longer.
If you’ve already answered something thoroughly in the main content, repeating it in an FAQ may provide little additional value.
Use FAQs to clarify genuine uncertainties or address important related concerns.
Ask ChatGPT to Review Your Outline
Before drafting, you can ask ChatGPT to evaluate the structure you’ve created.
Example Prompt:
“Review this blog post outline for a beginner-friendly tutorial. Check whether the sections follow a logical order, identify missing steps, and flag unnecessary repetition.
Suggest improvements that would make the article easier to understand, but preserve the main topic and search intent. Do not begin writing the article yet.”
Review the suggestions before accepting them. ChatGPT may recommend additional sections that aren’t necessary for your particular audience.
Once you’re satisfied with the outline, establish an approximate word budget for each major section.
Some subjects may need several hundred words, while simpler steps can be explained more briefly.
The objective isn’t to make every section equally long.
It’s to give every subject the attention it deserves without overwhelming the reader.
With our outline established, we can begin writing the article in a controlled, section-by-section process.
Write Your Blog Post With ChatGPT, One Section at a Time
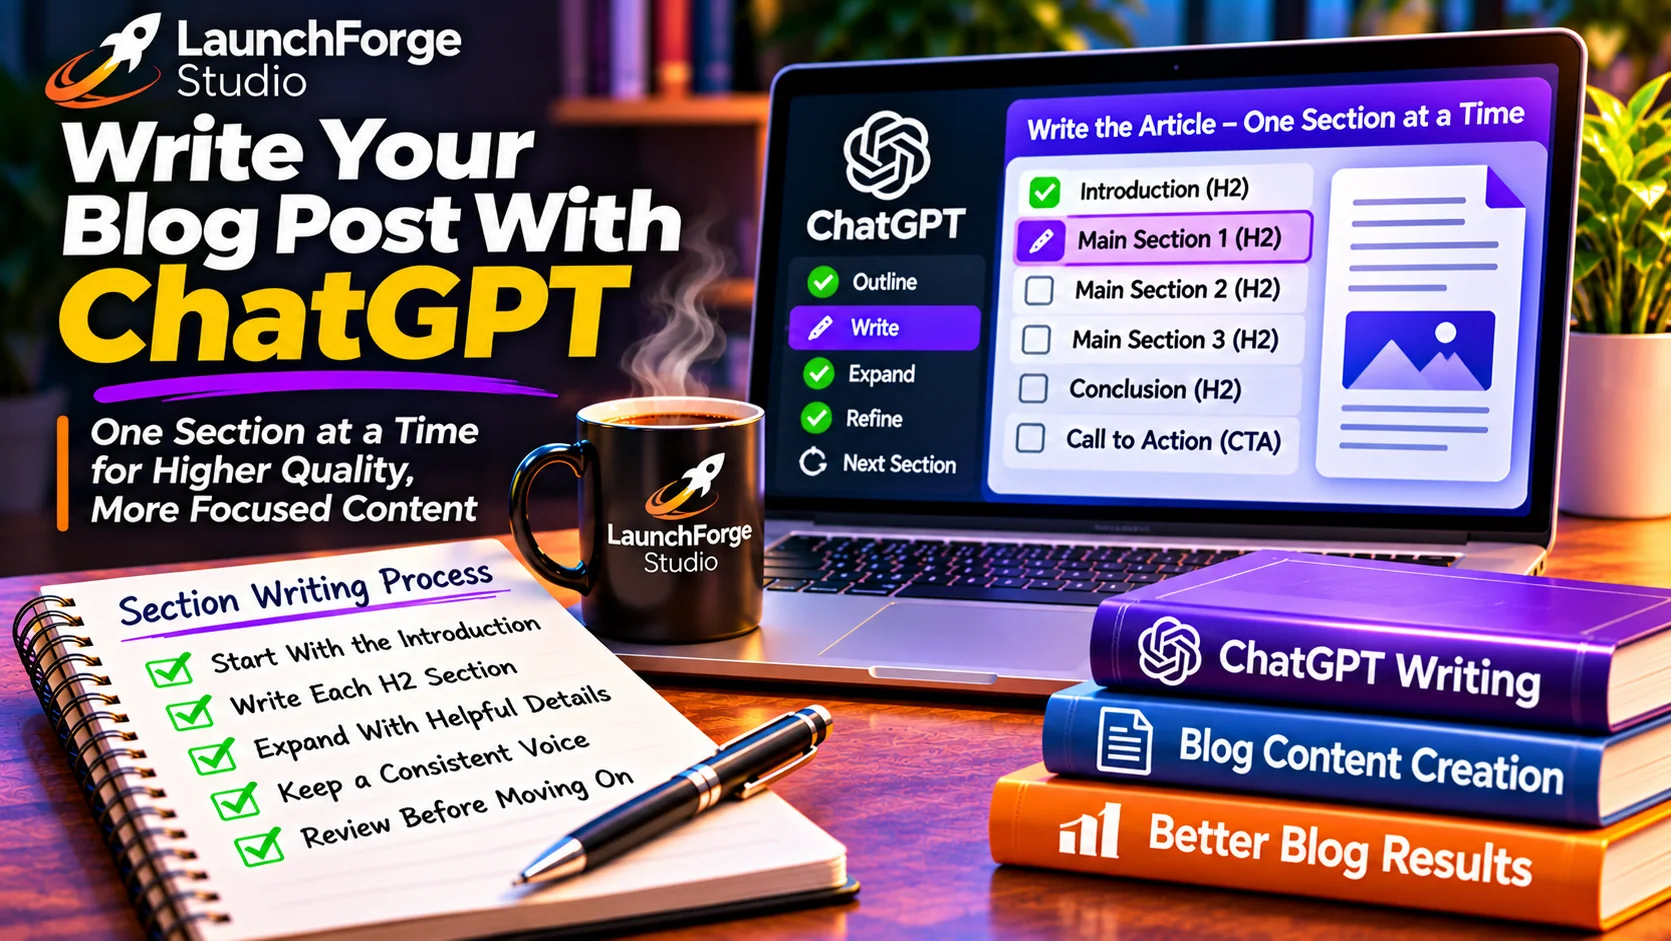
Write your blog post section by section with ChatGPT, reviewing and refining each part before moving forward.
Now comes the part you’ve been preparing for: actually writing your blog post with ChatGPT.
You could ask ChatGPT to generate an entire article in a single response. While that may seem convenient, we’ve found that a more controlled approach gives us greater flexibility over the structure, depth, accuracy, and overall quality of our content.
At LaunchForge Studio, we write our articles one section at a time, reviewing each part before continuing. This allows us to maintain editorial control without constantly reorganizing thousands of words.
Here’s how our process works.
Start With the Introduction
Once our outline and SEO information are finalized, we begin with the introduction.
We provide ChatGPT with the article’s title, focus keyword, target audience, and overall objective.
Then we ask it to write an engaging opening that establishes the reader’s problem and explains what they’ll learn.
Example Prompt:
“Using our approved article outline, write an introduction of approximately 200–250 words.
Introduce the reader’s problem, explain the practical value of the guide, and naturally incorporate the primary focus keyword.
Use a conversational, professional tone. Avoid exaggerated claims, unnecessary repetition, and lengthy introductions that delay the main subject.
Write only the introduction. Do not begin the first major section.”
After reviewing the introduction, we copy it into the WordPress Visual Editor.
If something feels unclear, repetitive, or inconsistent with our voice, we revise it before proceeding.
Write Each H2 Section Separately
Rather than generating the entire article at once, we work through our outline from beginning to end.
Each major H2 becomes a separate writing assignment. Where appropriate, that section includes H3 subsections to organize individual ideas or steps.
Example Prompt:
“Write the next H2 section from our approved outline.
Include the planned H3 subsections, explain each concept clearly, and provide practical examples where useful.
Maintain consistency with the previously completed sections. Avoid repeating explanations we’ve already covered.
Keep the section near its assigned word budget, and do not move ahead to the following H2 section.”
This approach helps us identify problems early instead of discovering them after the entire article has been written.
It also makes lengthy tutorials easier to manage.
Use a Consistent Copy-and-Paste Format
One practical improvement we’ve made at LaunchForge Studio is standardizing how ChatGPT delivers article content.
We use two simple markers:
COPY START
The finished article section appears here, with properly structured headings, paragraphs, and lists.
COPY END
Everything between those markers belongs in the article.
Explanations, editing notes, and instructions remain outside them.
We also require properly formatted H2 and H3 headings so they can be transferred into the WordPress Visual Editor without manually removing heading labels or formatting symbols.
This might seem like a small detail, but consistent formatting can save considerable time when publishing multiple articles.
Review Every Section Before Moving Forward
ChatGPT can help draft an article, but the final editorial decisions remain yours.
Before accepting a section, we check whether it:
- Answers the reader’s questions clearly.
- Follows the approved outline.
- Uses accurate, supportable information.
- Provides practical examples where appropriate.
- Avoids unnecessary repetition and filler.
- Maintains a consistent voice and writing style.
We also verify statistics, product features, pricing, quotations, and other factual claims using reliable sources when necessary.
If we’re discussing a tool we haven’t personally used, we make that distinction clear rather than presenting research as firsthand experience.
The goal is not to make AI-generated content sound convincing. It’s to make the finished article genuinely useful and trustworthy.
Track Your Word Count as You Write
Another lesson we’ve learned is that comprehensive articles can become unnecessarily long if you don’t monitor their length.
Before drafting, we establish an overall word-count target and assign approximate budgets to major sections.
Then, after every two or three sections, we check the actual word count in WordPress.
If we’re approaching our limit, we adjust the remaining sections rather than cutting useful material indiscriminately.
For example, a complicated instructional section might deserve 700 words, while a straightforward publishing step may need only 300.
We don’t force every heading to contain the same amount of text.
The objective is to explain each subject thoroughly without overwhelming readers.
Keep the Human Voice in Your Content
One of the easiest ways to make an AI-assisted article feel generic is to accept every paragraph without adding your own perspective.
Your experiences, observations, and examples help distinguish your content from material that merely repeats information available elsewhere.
At LaunchForge Studio, we sometimes include lessons from building our website, improving our publishing process, or evaluating marketing tools.
Those details give readers a better understanding of how the concepts work in practice.
You can do something similar by sharing relevant experiences from your own projects.
Just make sure your examples are genuine and directly support the subject you’re explaining.
Complete the Draft Before Adding Links and Images
We also separate writing from other production tasks.
Instead of interrupting the drafting process to create graphics, insert links, or redesign sections, we finish the article’s written content first.
Once the draft is complete, we work through internal linking, external references, featured images, instructional visuals, and final optimization in a consistent order.
This helps maintain momentum and reduces unnecessary backtracking.
Most importantly, it allows us to concentrate on one responsibility at a time.
ChatGPT helps us create and refine the content, but we remain responsible for what gets published.
With the article drafted and reviewed, our next step is optimizing it for search engines without sacrificing the clarity and usefulness of the writing.
Optimize Your Article With Rank Math SEO
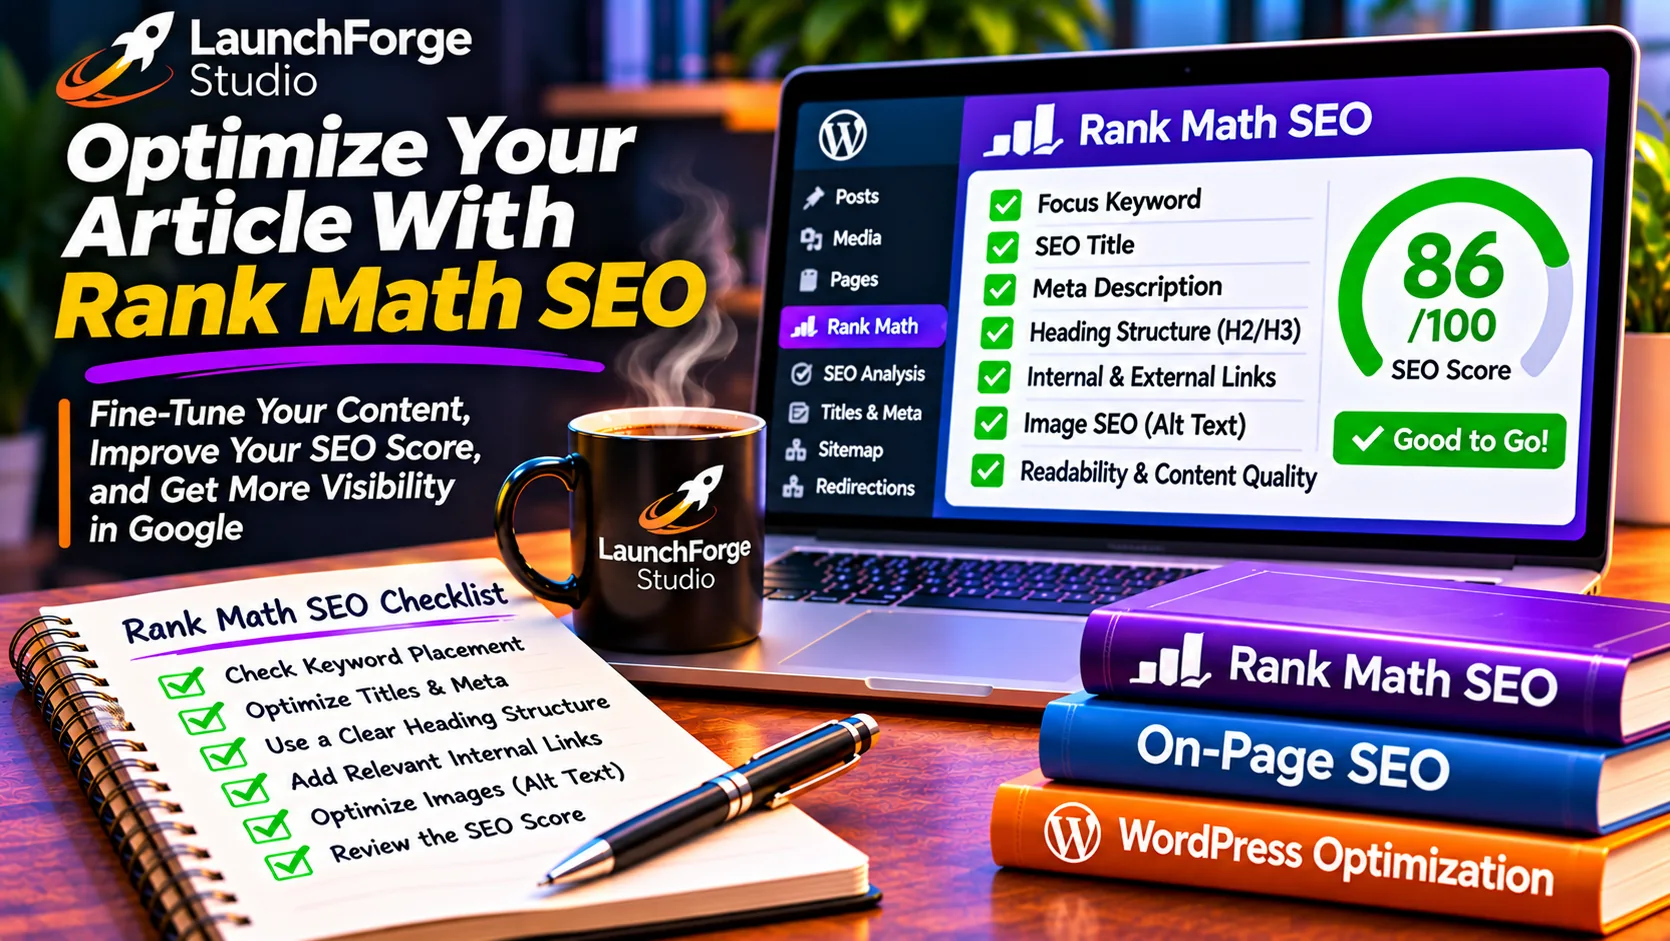
Use Rank Math SEO to review your article’s optimization while keeping helpful content and readability your top priorities.
Once your article is drafted, it’s time to review how well the content supports your chosen topic and how easily readers and search engines can understand it.
At LaunchForge Studio, we use Rank Math SEO to help identify opportunities for improvement. The plugin evaluates several on-page elements, including keyword placement, headings, links, and content readability.
However, there’s an important distinction worth remembering: a high SEO plugin score doesn’t guarantee higher Google rankings.
Our goal is to create useful content first and use Rank Math as a guide for improving its presentation.
Review Your Focus Keyword Placement
Begin by checking whether your primary focus keyword appears naturally in important locations.
These may include:
- The article title and SEO title.
- The URL slug.
- The opening paragraphs.
- Relevant H2 or H3 headings.
- The meta description.
For this guide, our keyword is “how to write a blog post with ChatGPT.”
We’ve included it in places where it makes sense, without forcing it into every section.
If Rank Math suggests additional keyword usage, consider whether the change improves clarity before accepting it.
Readers should never have to struggle through awkward sentences just because an SEO tool wants another keyword.
Check Your SEO Snippet Preview
Rank Math provides a snippet preview showing how your SEO title, URL, and meta description may appear in search results.
Review these elements together.
Does the title accurately describe the article? Is the description useful and inviting? Does the URL clearly identify the subject?
Keep in mind that Google may generate its own title link or description based on the search query and page content.
Your job is to provide clear, accurate information—not to control every detail of how the result appears.
Improve Readability and Heading Structure
Next, examine how easily someone can follow your article.
Look for overly long paragraphs, repetitive explanations, unclear wording, and sections that could benefit from more descriptive headings.
Make sure your H2 headings represent major topics and your H3 headings support the appropriate sections.
Short paragraphs and occasional lists can also make detailed tutorials easier to navigate.
At LaunchForge Studio, we prioritize a comfortable reading experience over making every optimization indicator turn green.
Review Your Content for Accuracy and Usefulness
SEO isn’t simply a matter of placing keywords in the right locations.
Before publishing, consider whether your article actually fulfills the promise made in its title.
Have you answered the main question thoroughly? Are the instructions practical? Have you included examples that help readers apply what they’ve learned?
Check important factual claims, especially when discussing software features, statistics, or information that may change over time.
ChatGPT can help identify areas that need clarification, but it shouldn’t be your only source of verification.
Treat the Rank Math Score as a Diagnostic Tool
Rank Math provides an overall optimization score, which can be useful for identifying missing elements.
At LaunchForge Studio, we generally consider a score above 80 a reasonable internal target, but we don’t treat that number as proof of content quality or ranking potential.
A lower score may reveal something worth fixing. It may also reflect a recommendation that doesn’t suit the article.
Use your judgment.
The best optimization is one that helps search engines understand your content while making the article more valuable to readers.
Once the written content has been reviewed, the remaining production steps include adding useful links, creating relevant visuals, and checking the article’s presentation before publishing.
Add Helpful Internal and External Links
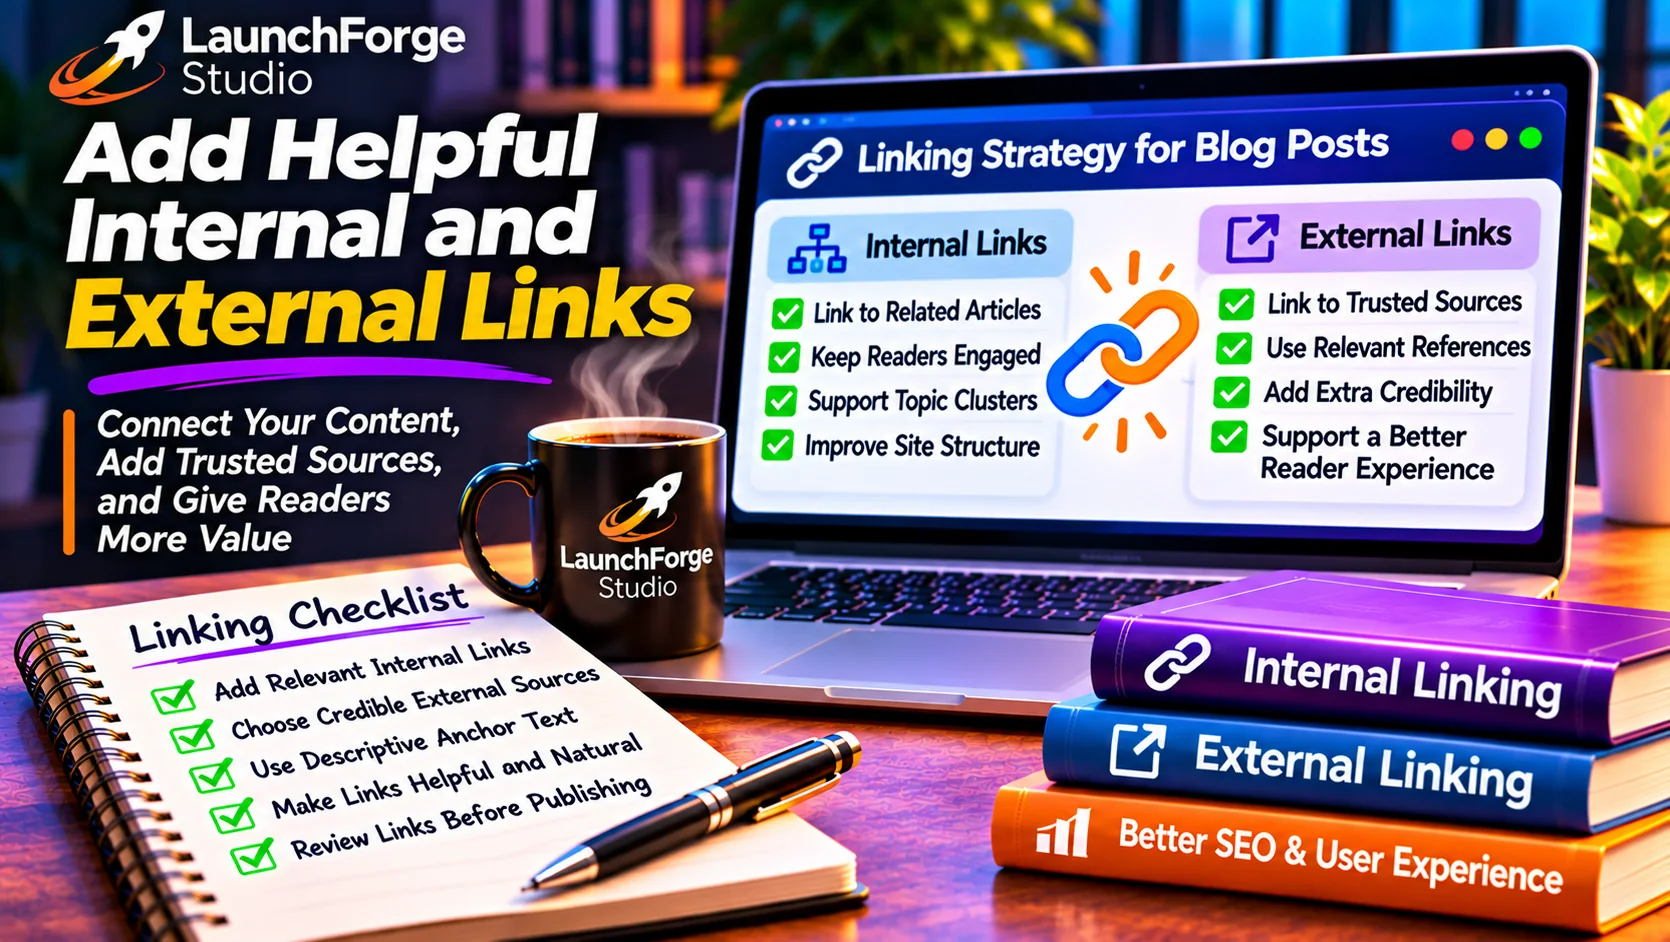
Connect readers to relevant articles and credible sources using natural, descriptive links that improve the reading experience.
Once you’ve completed your article’s written content, the next step is connecting readers to additional resources that genuinely support what you’ve explained.
Links help readers explore related subjects, find supporting information, and move naturally between useful pages.
At LaunchForge Studio, we handle linking in two separate stages: internal links first, followed by external links.
We also use our article’s Table of Contents as a roadmap so we can work systematically instead of searching randomly through thousands of words.
Start With Relevant Internal Links
Internal links connect one page of your website to another.
For example, if you’re explaining how to attract visitors to a new website, you might link to an existing tutorial about choosing traffic sources.
That gives interested readers an opportunity to explore the subject more deeply without forcing you to repeat an entire lesson.
Our internal linking process follows a specific sequence:
- Review the article’s Table of Contents.
- Identify the H2 or H3 section you’re working on.
- Find an existing article that genuinely supports that section.
- Locate the exact sentence where the link belongs.
- Choose natural anchor text that describes the destination.
- Insert the link and check that it works correctly.
We repeat this process as we move through the article from beginning to end.
Give ChatGPT Precise Linking Instructions
ChatGPT can help identify potential internal-link opportunities, especially when you provide a list of your existing articles and their verified URLs.
However, it should never be allowed to invent page addresses or assume an article exists simply because its title sounds plausible.
Here’s an example of the instructions we use.
Example Prompt:
“Review this completed article using its Table of Contents as your roadmap.
For each relevant H2 or H3 section, identify an existing article from the website inventory I’ve provided that would genuinely help readers.
Recommend one internal link at a time.
For each recommendation, provide the exact existing sentence, the precise anchor text to hyperlink, and the verified destination URL.
Do not invent article titles, URLs, or wording. Avoid unnecessary links and repeated recommendations.”
This approach makes link placement considerably easier, particularly when you’re working with a lengthy tutorial.
Instead of hunting through 7,000 words trying to remember where a suggestion belongs, you can locate the exact sentence and make the change.
Choose Descriptive Anchor Text
Anchor text is the clickable wording used in a hyperlink.
Whenever possible, choose words that help readers understand what they’ll find after clicking.
For example, consider this sentence:
“If you’re still learning the fundamentals, start by understanding how landing pages work.”
The words “how landing pages work” could link naturally to an existing beginner-friendly article explaining landing pages.
That’s generally more useful than linking vague wording such as “click here.”
Avoid forcing exact-match keywords into sentences when they don’t sound natural.
The primary purpose of the link is to help the reader.
Add External Links to Credible Sources
After completing internal linking, review the article for opportunities to reference trustworthy external information.
External links direct readers to websites outside your own.
For example, a tutorial discussing Google Search Console could link to Google’s official documentation explaining how URL Inspection works.
An article about WordPress features might reference the relevant WordPress documentation.
Choose sources that support factual statements, clarify instructions, or offer useful additional information.
Before recommending an external link, verify that the destination exists and actually supports the information being discussed.
You don’t need to add links simply to satisfy an SEO plugin.
Review Links Before Moving Forward
Once internal and external linking are complete, inspect the finished article.
Make sure every link works, points to the intended destination, and contributes to the reader’s understanding.
Check that anchor text is descriptive and that links don’t interrupt the natural flow of the writing.
At LaunchForge Studio, we prefer a smaller number of meaningful links over a large collection of unnecessary ones.
A useful link should help readers take the next step in their learning—not simply increase the number of hyperlinks on a page.
With our article connected to relevant resources, we can move into the visual elements that make detailed instructions easier to understand.
Create and Optimize Images for Your Blog Post
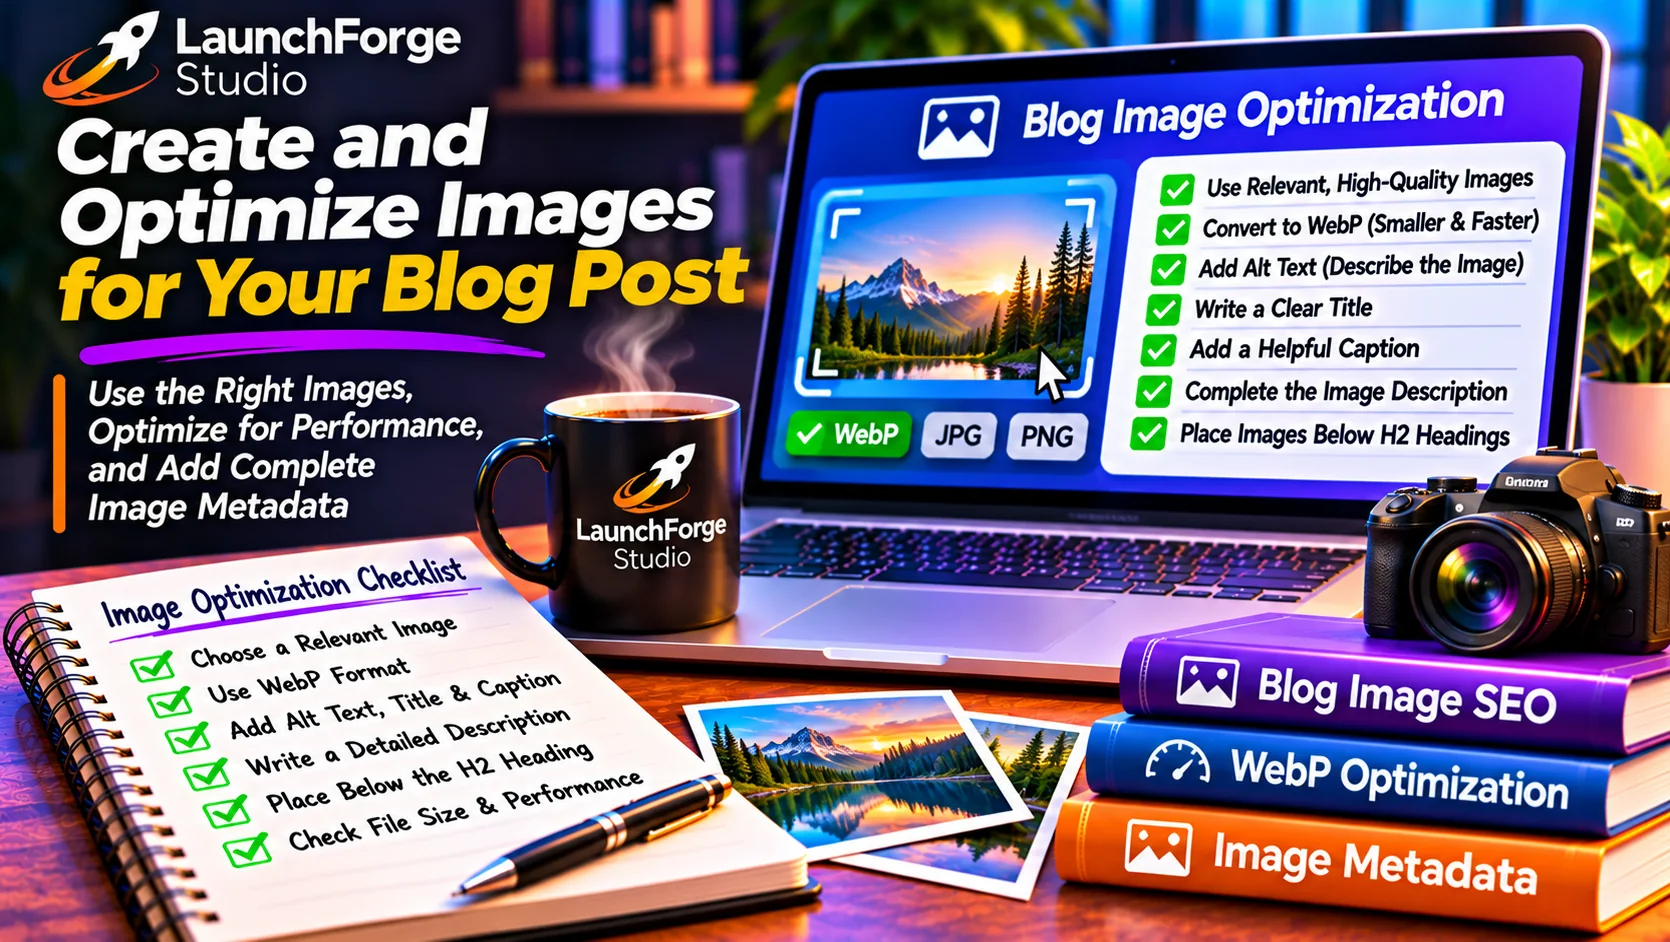
Choose useful images, optimize them in WebP format, and complete their metadata to improve your blog’s reading experience.
Images can make a blog article more engaging, easier to understand, and more visually appealing. But adding pictures simply to fill space doesn’t necessarily improve the reader’s experience.
At LaunchForge Studio, we use images with a purpose. Some reinforce an important concept, while others illustrate a process, explain a workflow, or help readers understand a technical subject.
We also follow a consistent approach to image placement, formatting, and optimization before publishing.
Start With a Relevant Featured Image
The featured image is the primary visual associated with your blog post.
Depending on your WordPress theme and settings, it may appear on blog archive pages, article cards, or social media previews.
Your featured image should accurately represent the article’s subject and fit the visual identity of your website.
For LaunchForge Studio, we use our established blue and orange branding to create a recognizable appearance across our content.
For example, the featured image for this guide could show ChatGPT assisting with the process of creating, optimizing, and publishing a WordPress article.
We create the featured image separately from the article’s instructional images and assign it through the WordPress Featured Image settings.
Choose Images That Help Explain the Content
After completing the article and its links, we review our outline to identify sections that would benefit from visual explanations.
Useful image types include:
- Screenshots demonstrating actual software settings.
- Simple diagrams explaining unfamiliar concepts.
- Step-by-step workflow graphics.
- Infographics summarizing important information.
- Branded illustrations that reinforce an article’s main ideas.
For example, a screenshot showing the Rank Math SEO fields could help readers understand where to enter their focus keyword and meta description.
A workflow diagram could illustrate the sequence from topic research through publishing and promotion.
Not every section needs an image. We prioritize visuals that contribute something meaningful.
Place Article Images Immediately Below Relevant H2 Headings
One of our established LaunchForge Studio formatting practices is placing instructional images immediately below the H2 headings they support.
This creates a consistent visual structure and helps readers connect each graphic with the subject being introduced.
We use the article’s Table of Contents as our placement roadmap, reviewing major sections one at a time.
For example, an image explaining keyword research would appear immediately beneath the H2 heading introducing that subject, before the section’s opening paragraph.
We don’t automatically create an image for every heading. If a visual would be repetitive or unnecessary, we leave that section text-only.
Optimize Images for Website Performance
Large image files can slow down web pages, particularly on mobile devices.
That’s why we prepare our website images in WebP format, which can provide efficient compression while maintaining suitable visual quality.
Before uploading an image, we also check its dimensions and file size to make sure they’re appropriate for the location where it will appear.
A small article illustration generally doesn’t need the same dimensions as a full-width featured image.
Descriptive filenames are another useful organizational practice.
For example:
chatgpt-blog-writing-workflow.webp
This is easier to recognize and manage than a generic filename such as image123.webp.
Complete Your WordPress Image Metadata
When uploading images to WordPress, we review four important fields:
Alt Text: Describes meaningful image content for people using screen readers and provides alternative text when the image cannot be displayed.
Title: Helps identify the image in the WordPress Media Library.
Caption: Provides visible context or explanation when a caption benefits the reader.
Description: Records additional information about the image and its purpose.
For example, an image illustrating the ChatGPT article-writing process might use:
Alt Text: Diagram showing the ChatGPT blog writing workflow from planning through publishing.
Title: ChatGPT Blog Writing Workflow
Caption: A practical process for planning, writing, optimizing, and publishing blog articles with ChatGPT.
Description: A LaunchForge Studio workflow illustration showing topic research, article outlining, section-by-section drafting, SEO optimization, WordPress publishing, and content promotion.
Alt text should describe what the image actually communicates rather than simply repeating keywords. Decorative images may not need descriptive alternative text.
Review Images Before Publishing
Before considering our visuals complete, we verify that every image is relevant, correctly positioned, and displays properly on desktop and mobile devices.
We also check that screenshots are readable, diagrams are understandable, and images don’t contain misleading information or unnecessary clutter.
The purpose of article imagery isn’t decoration alone. It’s to make useful information easier to understand.
Once our images are prepared, we’re ready to review how the completed article will appear in WordPress.
Format and Publish Your Blog Post in WordPress
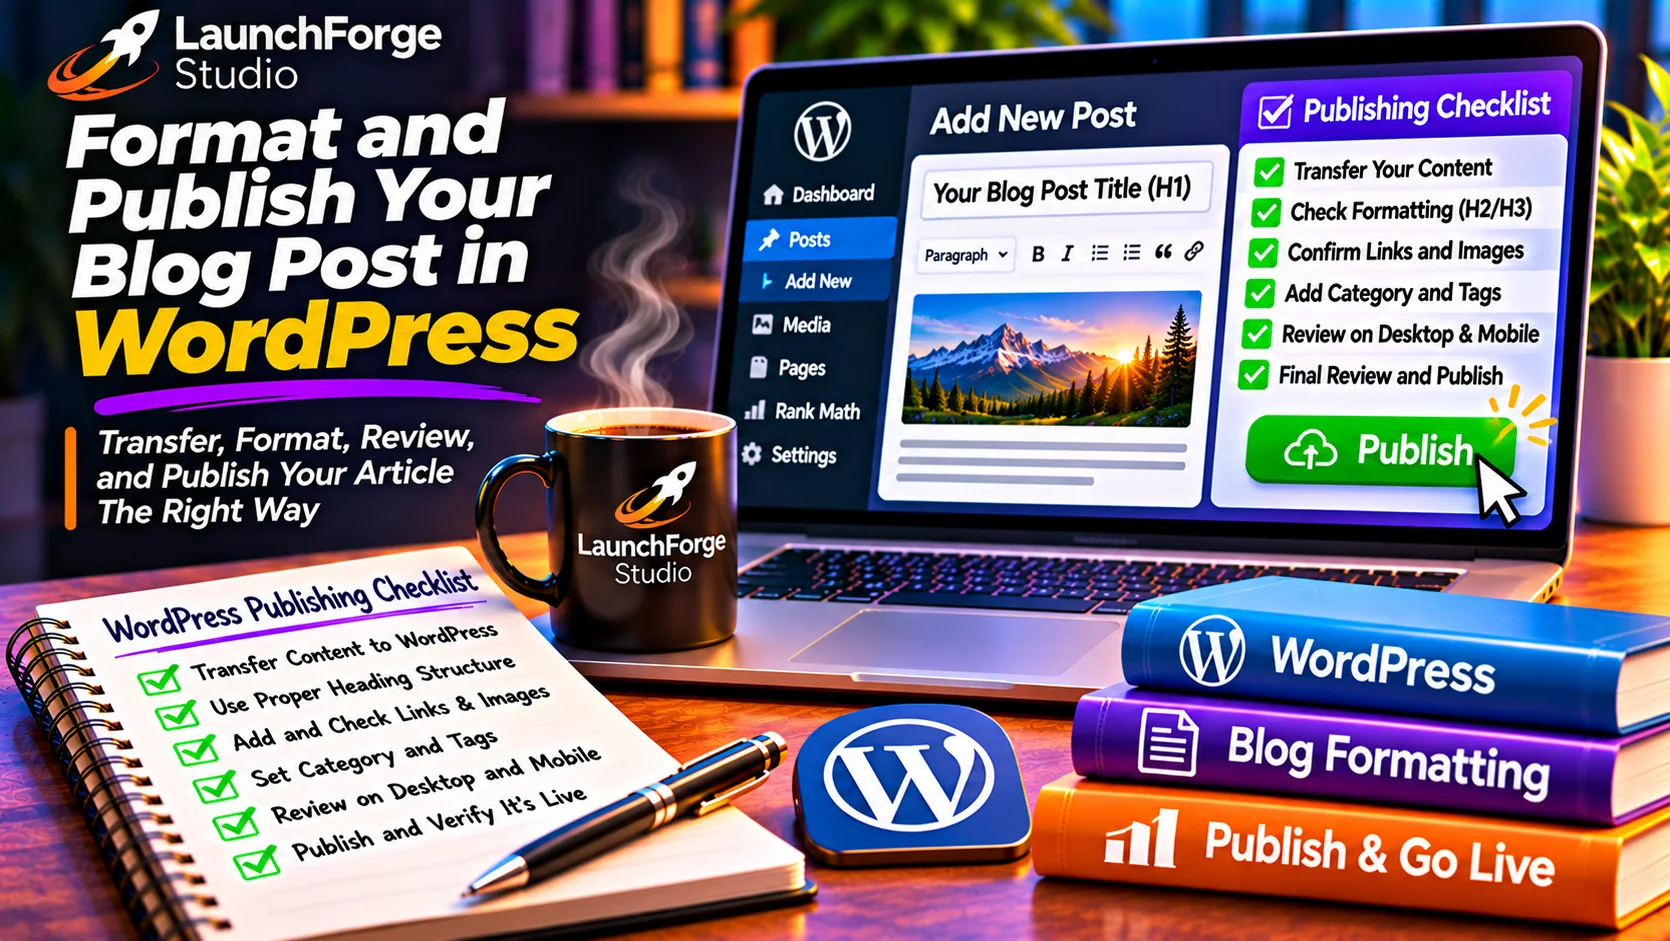
Bring your article together in WordPress, verify its formatting, review desktop and mobile layouts, and publish with confidence.
With your article written, reviewed, and prepared for publication, it’s time to bring everything together in WordPress.
This is where your headings, paragraphs, images, links, and call to action become a complete article that visitors can read and navigate.
At LaunchForge Studio, we use WordPress with Divi 5 for our website design and publishing environment. Your setup may look different, but the general principles apply to most WordPress websites.
Transfer Your Content Into the WordPress Editor
Begin by opening your article draft in WordPress.
If you’ve been writing one section at a time, transfer each completed section in the correct order, starting with the introduction.
Check that your content retains its intended formatting.
Your article’s main title should serve as the H1, while major sections use H2 headings and supporting subsections use H3 headings.
Avoid creating multiple H1 headings unnecessarily.
Make sure paragraphs, lists, and emphasized text display correctly. Content copied from another application may occasionally require formatting adjustments.
Check Your Table of Contents and Article Structure
If your website automatically generates a Table of Contents, verify that it accurately reflects your article’s headings.
At LaunchForge Studio, our Table of Contents is already handled through our website configuration, so we don’t manually insert another one into each article.
Review the heading sequence to make sure readers can follow the article from beginning to end.
A well-organized article should make it easy to locate specific information without requiring visitors to read every section.
Confirm Your Links, Images, and Call to Action
Before publishing, review the resources and visuals you’ve added.
Check that internal links point to the intended articles and external links open the correct websites.
Make sure your featured image is assigned through WordPress and that body images appear in their intended locations.
Review your article’s call to action as well.
Does it offer a useful next step? Is the language appropriate for the subject? Does the destination match what you’ve promised?
A relevant CTA can help interested readers continue learning without interrupting the educational purpose of the article.
Preview the Article on Desktop and Mobile
Never assume your article will look perfect simply because everything appears correctly inside the editor.
Use WordPress preview options to inspect the finished page.
On desktop, check the overall layout, heading spacing, image dimensions, and readability.
On mobile, pay particular attention to text wrapping, oversized images, horizontal scrolling, and elements that may be difficult to tap.
At LaunchForge Studio, we also check how our Divi 5 layouts interact with the article content.
Small formatting issues are easier to correct before visitors encounter them.
Complete Your Final Review and Publish
Before clicking Publish, confirm that your SEO title, meta description, permalink, excerpt, category, featured image, and article content are correct.
Read through the article one final time, looking for broken formatting, repeated passages, unsupported claims, or instructions that may confuse beginners.
If everything looks good, publish the article.
Publishing is an important milestone, but it isn’t the end of the process.
Your next steps involve helping search engines discover the content, introducing it to your audience, and monitoring how it performs over time.
Submit Your Published Article to Google Search Console
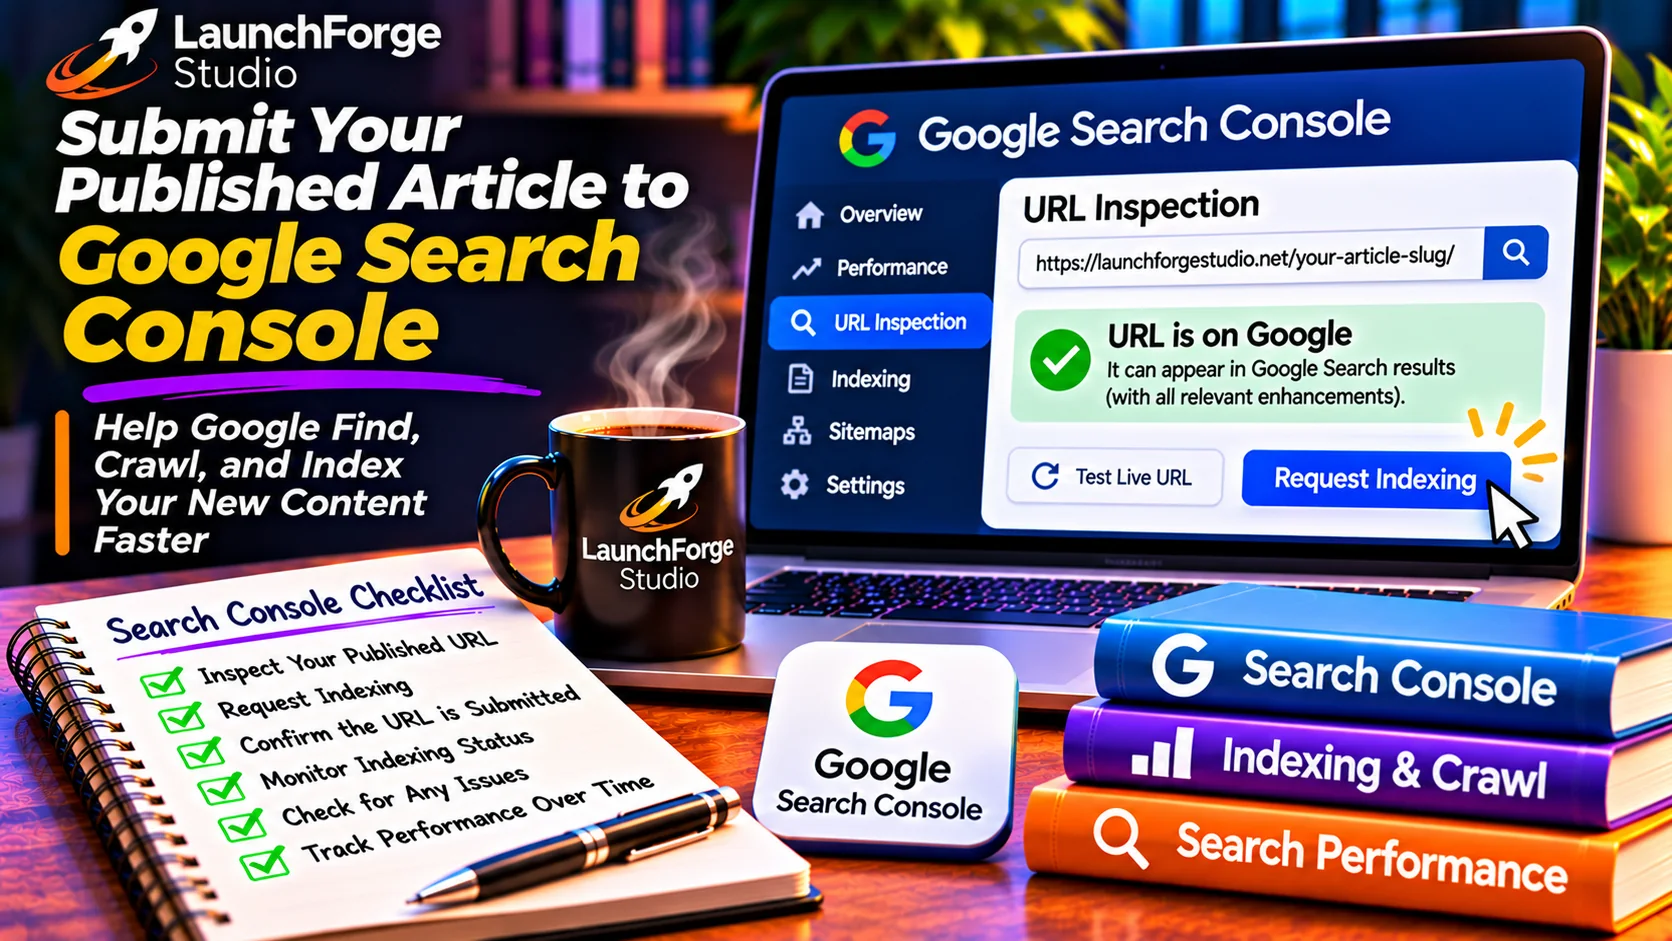
Use Google Search Console to inspect your published article, request indexing when appropriate, and monitor its search visibility.
Publishing your blog post makes it available on your website, but that doesn’t necessarily mean Google has discovered or indexed it yet.
At LaunchForge Studio, one of our first tasks after publishing a new article is checking its status in Google Search Console.
Google Search Console is a free tool that helps website owners monitor how their pages appear in Google Search, investigate indexing issues, and understand search performance.
Inspect Your Published Article URL
After publishing your article, copy its complete URL from your website.
Open Google Search Console, select the correct website property, and locate the URL Inspection field near the top of the dashboard.
Paste your article’s URL into that field and press Enter.
Google will display available information about the page, including whether it is currently indexed.
For a newly published article, it’s normal for Google to report that the URL isn’t yet in its index.
That doesn’t automatically mean something is wrong.
Request Indexing When Appropriate
If your new article isn’t indexed, you can use the Request Indexing option in URL Inspection.
Google may perform a live URL test before accepting your request.
If the request succeeds, Search Console will confirm that indexing has been requested.
However, requesting indexing does not guarantee that Google will index your article or display it prominently in search results.
Google decides which pages to crawl, index, and show based on its own systems.
Repeatedly submitting the same unchanged URL doesn’t make indexing happen faster.
Monitor Your Article After Publication
Once your article has been published and submitted, allow time for Google to discover and evaluate it.
You can return to URL Inspection to check its indexing status and use the Search results performance report to review its visibility.
At LaunchForge Studio, we pay attention to impressions, clicks, average position, and the search queries associated with individual articles.
One lesson we’ve learned from examining our own Search Console data is that a page can remain indexed even when its search impressions decline significantly.
That’s why we investigate changes before assuming something is broken or rewriting an article unnecessarily.
Remember, indexing and ranking are different things.
Indexing makes a page eligible to appear in Google Search. Helpful content, relevance, competition, and other ranking factors influence whether people actually see it.
With your article published and its indexing status checked, the next step is introducing it to people who may benefit from reading it.
Promote Your Blog Post With Buffer
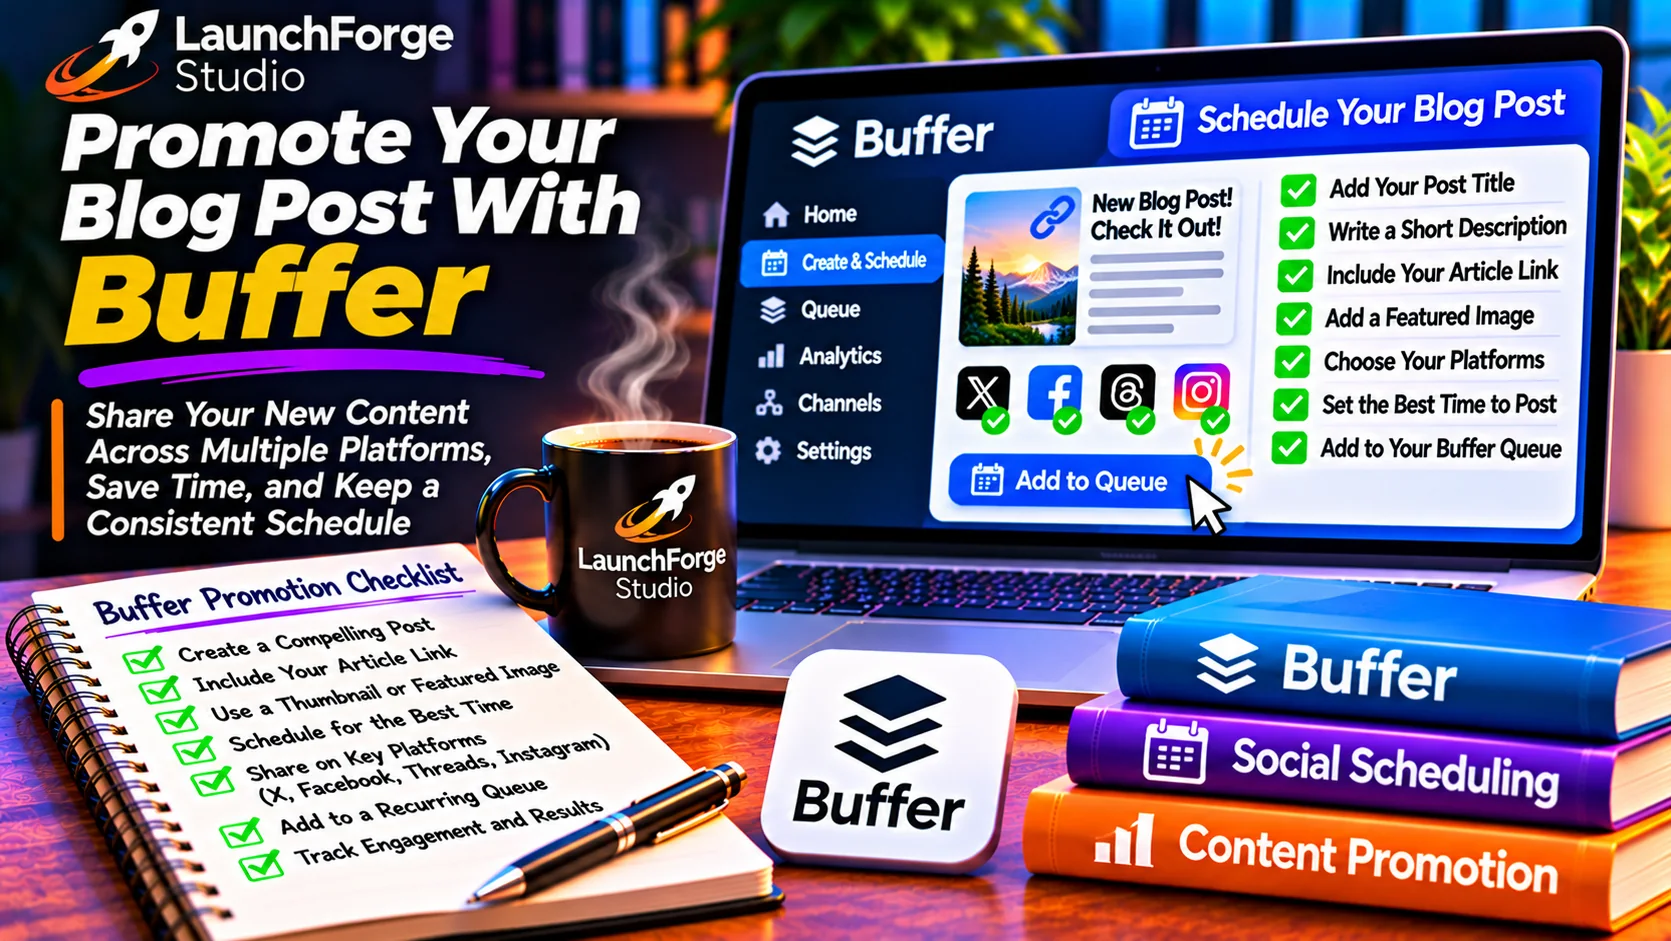
Use Buffer to organize and schedule blog promotions across X, Facebook, and Threads while maintaining a consistent publishing schedule.
Publishing your article is an important accomplishment, but even a helpful blog post may go unnoticed if nobody knows it exists.
Search engines can eventually introduce your content to new readers, but you don’t have to depend entirely on search traffic to build awareness.
At LaunchForge Studio, we use Buffer to organize and schedule social media posts that introduce our newest articles to people who may find them useful.
Our primary channels include X, Facebook, and Threads.
Create a Different Message for Each Platform
Although you can promote the same article across multiple social networks, the message doesn’t have to be identical everywhere.
Each platform has its own communication style, audience expectations, and formatting considerations.
For example, imagine you’ve just published an article about writing blog posts with ChatGPT.
Example X Post:
“ChatGPT can help you write a blog post. But planning, editing, SEO, and publishing still matter. Here’s a practical step-by-step workflow you can follow.”
Example Facebook Post:
“Ever tried writing a blog post with ChatGPT and ended up spending more time editing than you expected?
We’ve been there.
At LaunchForge Studio, we’ve developed a practical process for planning, writing, optimizing, and publishing articles with ChatGPT.
Our new guide walks through that workflow step by step, including WordPress, SEO, images, and promotion.
Read the guide and see which parts you can adapt to your own website.”
Example Threads Post:
“ChatGPT can write paragraphs in seconds.
Creating a blog post people actually want to read? That takes a little more thought.
We use a repeatable process that combines ChatGPT with research, human editing, SEO, and WordPress publishing.
Our latest guide explains how it all fits together.”
These examples communicate the same core idea while allowing each platform’s message to feel natural.
When publishing your promotional posts, include the article’s verified URL or use the platform’s appropriate linking options.
Use Buffer to Schedule Your Promotions
Buffer allows you to connect supported social accounts and organize posts for future publication.
Instead of manually publishing every message separately, you can prepare your promotional content and schedule it according to your preferred posting routine.
At LaunchForge Studio, we regularly prepare platform-specific messages after an article goes live.
Before scheduling, we review each post for accuracy, readability, and consistency with our brand.
We also verify that the link points to the correct published article.
Scheduling tools can simplify distribution, but they’re not a substitute for writing messages that genuinely interest readers.
Give Readers a Reason to Visit
A promotional message should communicate what someone will gain from reading your article.
Rather than simply announcing, “New blog post published,” explain the problem your content helps solve.
You might highlight a practical lesson, ask a relevant question, or share a useful observation from the article.
Avoid making exaggerated promises or presenting ordinary information as a secret breakthrough.
Good promotion helps the right readers recognize that your content may be useful to them.
Keep Promoting Without Becoming Repetitive
Not everyone will see your article the first time you share it.
You can introduce evergreen content again later using a different, relevant angle.
For example, one post might emphasize ChatGPT prompts, while another focuses on WordPress publishing or SEO preparation.
The goal isn’t to overwhelm followers with repeated advertisements.
It’s to help interested readers discover useful information over time.
At LaunchForge Studio, we view social media promotion as part of building long-term awareness and trust.
With your article published and promoted, the final step is measuring its performance and learning what to improve.
Measure Results and Improve Your Content
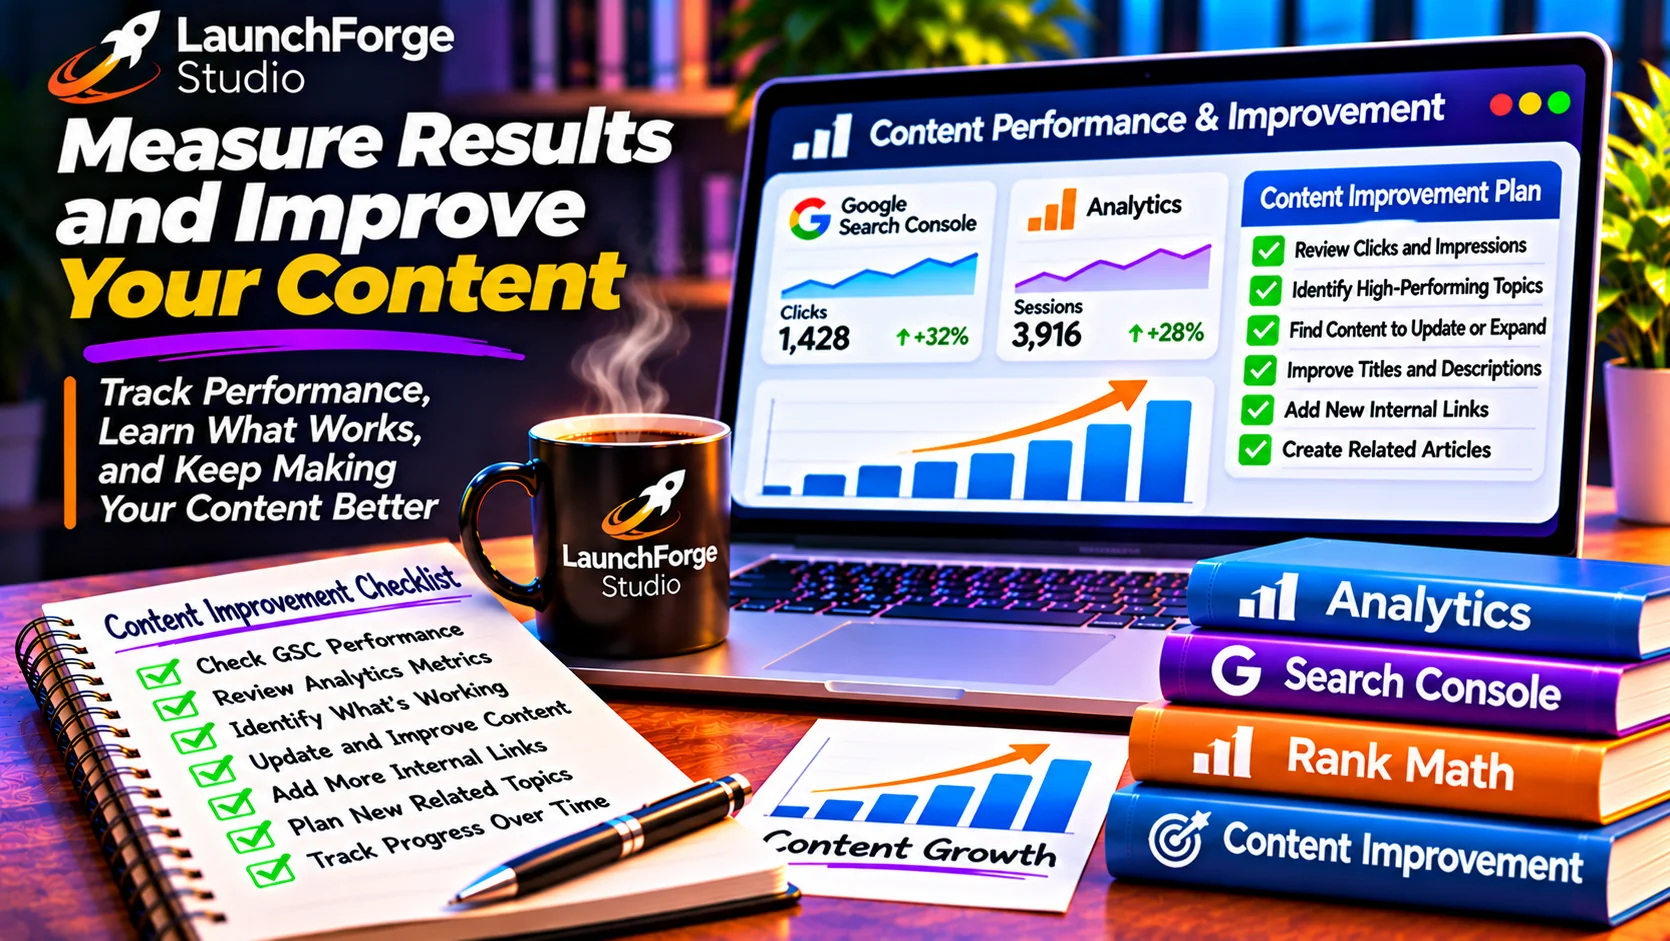
Use search performance data to understand what works, identify content opportunities, and improve your articles over time.
Publishing and promoting your article aren’t the final steps in building a successful content strategy.
Once your blog post begins appearing in search results, you can use performance data to understand how people discover it and identify opportunities for improvement.
At LaunchForge Studio, we use Google Search Console to monitor organic search performance and make informed editorial decisions.
Understand Your Main Search Performance Metrics
Google Search Console provides several useful measurements:
- Clicks: How many times someone clicked through to your website from Google Search.
- Impressions: How often your website appeared in eligible Google Search results.
- Click-Through Rate (CTR): The percentage of impressions that resulted in clicks.
- Average Position: The average ranking position of your highest-positioned result when your website appeared for a search.
These metrics become more useful when you examine them together rather than treating any single number as proof of success.
For example, an article receiving impressions but few clicks may deserve a closer look at its search queries, ranking positions, and search-result presentation.
Investigate Changes Before Rewriting
One lesson we’ve learned from examining LaunchForge Studio’s performance is that search visibility can fluctuate considerably.
We’ve seen articles experience sudden increases in impressions followed by sharp declines, even while remaining indexed in Google.
Rather than assuming something is broken, we investigate.
We check indexing status, review search queries, compare relevant dates, and examine whether similar patterns appear elsewhere on the website.
An indexed article isn’t guaranteed consistent rankings, and a temporary decline doesn’t automatically mean its content needs replacing.
Good decisions begin with understanding the evidence.
Use Performance Data to Guide Improvements
As your website develops, look for opportunities to strengthen existing articles.
You might clarify a confusing explanation, update outdated information, improve internal linking, or answer a relevant question readers are searching for.
Compare performance across meaningful periods, and remember that newer websites may have limited data.
Avoid making major decisions based on only a handful of impressions or clicks.
Most importantly, focus on helping readers rather than chasing numbers.
The purpose of measuring performance is to learn how your content can become more useful, discoverable, and effective over time.
The Complete Blog Post Publishing Checklist
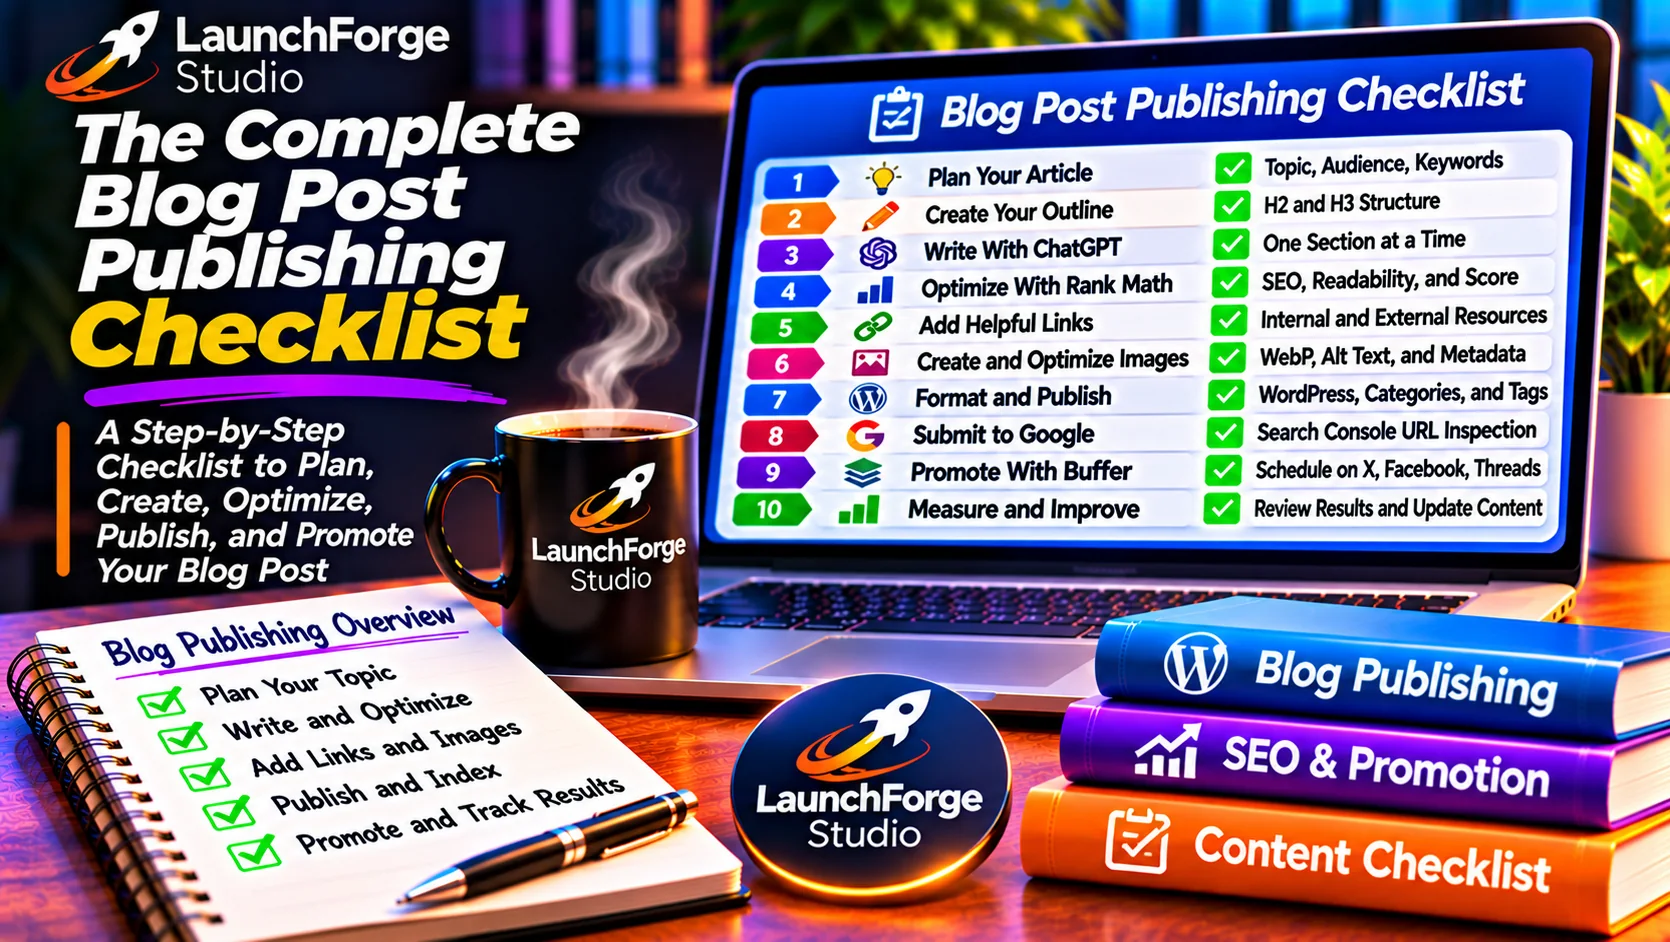
Follow a repeatable process from planning your article to publishing, promoting, and improving your blog content.
You’ve now seen how we use ChatGPT to help plan, write, optimize, publish, and promote blog articles at LaunchForge Studio.
To make the process easier to repeat, here’s a practical checklist you can follow when creating your next blog post.
You don’t need to use every tool mentioned in this guide. Adapt the workflow to your own website, publishing platform, and available resources.
Before Writing
- Identify your target audience and the problem your article will solve.
- Research the topic and understand its primary search intent.
- Choose a relevant focus keyword.
- Determine what useful information or firsthand experience you can contribute.
- Establish the article’s main objective.
- Prepare your SEO title, permalink, meta description, excerpt, and category.
- Create your complete H2/H3 outline, including the introduction, conclusion, and CTA.
- Set a realistic word-count target.
During Writing
- Give ChatGPT clear instructions about your audience, tone, and formatting.
- Write the introduction first, followed by individual H2 sections.
- Review and edit each section before continuing.
- Verify factual claims, statistics, and product information.
- Monitor your article’s word count and adjust upcoming sections when necessary.
- Make sure the finished content answers the reader’s main questions.
Before Publishing
- Add relevant internal links using verified URLs and descriptive anchor text.
- Add useful external references from trustworthy sources.
- Create and assign your featured image.
- Add purposeful article images beneath appropriate H2 headings.
- Optimize image sizes, filenames, and alternative text.
- Verify the article’s call to action and its destination.
- Review Rank Math or your preferred SEO tool.
- Check heading structure, readability, and formatting.
- Preview the article on desktop and mobile devices.
- Confirm your title, excerpt, category, permalink, and other publishing settings.
After Publishing
- Verify the published URL works correctly.
- Inspect the URL in Google Search Console and request indexing when appropriate.
- Prepare platform-specific promotional messages.
- Schedule or publish your social media posts.
- Monitor search impressions, clicks, CTR, and average position over time.
- Update the article when new information or meaningful improvement opportunities arise.
Keep this checklist handy as you build your content library.
The more consistently you follow a useful process, the easier it becomes to focus on what matters most: creating content that genuinely helps your readers.
Conclusion: Build Better Blog Posts With ChatGPT
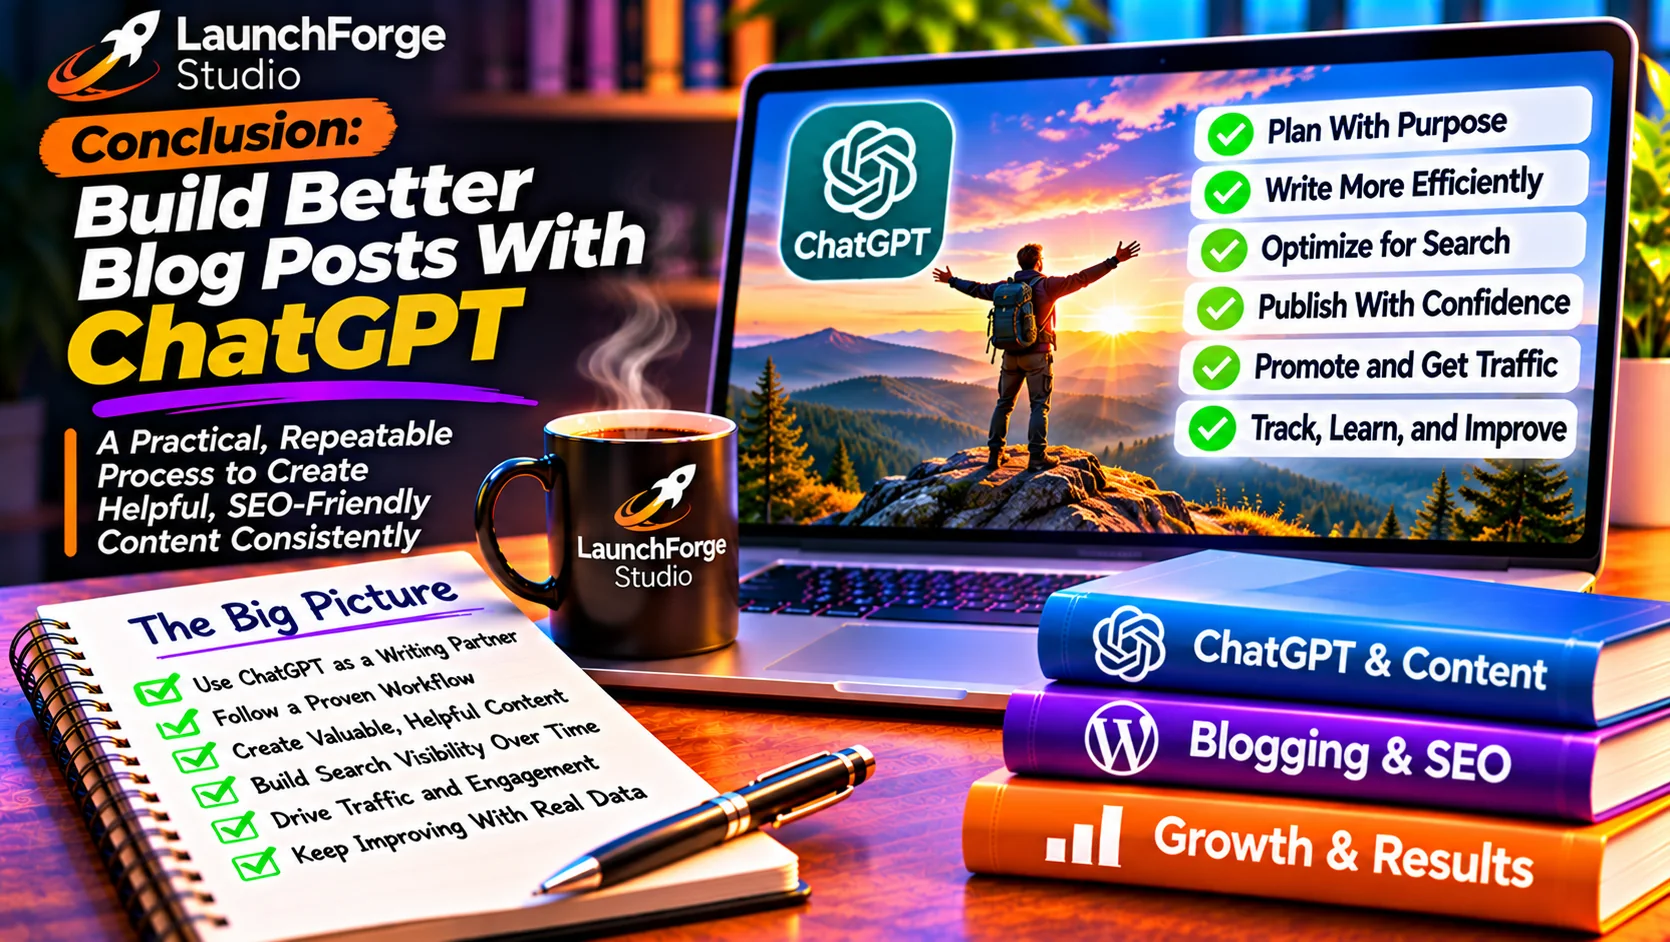
Build better blog posts with a repeatable process that combines ChatGPT, human judgment, SEO, publishing, and continuous improvement.
Learning how to write a blog post with ChatGPT isn’t about finding the perfect prompt that magically produces a finished article.
It’s about developing a process that combines the efficiency of AI with your own knowledge, creativity, and judgment.
Throughout this guide, we’ve walked you through the same approach we use at LaunchForge Studio: researching topics, understanding search intent, preparing SEO information, creating outlines, writing individual sections, reviewing content, adding helpful links, optimizing images, publishing in WordPress, and promoting articles through social media.
You don’t need to master every step overnight.
Start with one useful topic. Identify the people you want to help. Give ChatGPT clear instructions, review its suggestions carefully, and focus on creating something that answers real questions.
As you gain experience, refine your workflow to fit your website, resources, and goals.
Most importantly, remember that publishing an article is only one part of building an online presence. Consistency, patience, and a genuine commitment to helping readers matter just as much as the tools you use.
Take the Next Step With LaunchForge Studio
If you’re working toward building your own online business, creating helpful content is an excellent place to start.
At LaunchForge Studio, we’re sharing the tools, strategies, and practical lessons we’re using as we build our own business.
Explore our Business Platform resources to discover how website creation, content publishing, lead generation, and marketing tools can work together to support your goals.
Build with purpose. Keep learning. And give your ideas the consistent effort they deserve.
Because the dream may be free, but the work is what gives it wings.